Painted Pumpkin Ideas: Patterns, Colors and Prep
A step-by-step guide to painting pumpkins: cleaning the surface, base coats, taped stripes, eraser dots, color-blocked halves and a simple plaid, plus optional sealing.

Project at a glance
What you need
- Real or foam craft pumpkin with a smooth surface
- Acrylic craft paint in 2 to 4 colors
- 1 in (2.5 cm) flat brush and small round brush
- Painter's tape
- Pencil with a flat eraser or round sponge dauber
- Optional clear acrylic sealer
The best painted pumpkin ideas are simple patterns done neatly: stripes, dots, two-color halves and a loose plaid. None of them needs drawing skill. What they do need is a clean surface, thin coats and a little patience between them.
This guide walks through the prep and base coat first, then four patterns you can paint with household tools such as tape and a pencil eraser. It works the same way on real pumpkins and on foam craft pumpkins.
What you need
- Pumpkins, real or craft, with smooth skin and firm stems
- Acrylic craft paint in two to four colors
- A flat brush about 1 inch (2.5 cm) wide and a small round brush
- Painter’s tape, about 1/2 to 1 inch (1.3 to 2.5 cm) wide
- A new pencil with a flat eraser, or a small round sponge dauber
- A paper plate for paint, a damp cloth and newspaper to cover the table
- Optional: clear acrylic sealer
Settle on your colors before you open a bottle. Two or three shades repeated across several pumpkins look far more deliberate than a different scheme on each one, and these fall color palette ideas can help you choose.
Prep: clean and dry the surface
Paint grips clean, dry skin and peels from anything dusty, waxy or damp. Preparation takes a few minutes and makes the biggest difference to the result.
- Wipe the whole pumpkin with a damp cloth to remove soil and dust. For stubborn dirt, use a little mild soapy water, then wipe again with plain water.
- Dry it thoroughly with a towel, including the dip around the stem and the underside.
- Let it sit at room temperature until it is completely dry to the touch. A pumpkin brought in from a cold porch may form condensation, so give it time to warm up.
- Decide whether to paint the stem. Leaving it natural looks rustic; a coat of gold or brown looks polished.
Choose pumpkins without cuts, bruises or soft spots. Paint will not rescue a pumpkin that has already started to turn.
The base coat
Stand the pumpkin on an upturned cup or jar so you can reach the lower curve. Load the flat brush lightly and paint from the stem downward, following the ribs.
The first coat will look streaky, especially a pale color over orange skin. That is normal. Let it dry, then add a second thin coat, and a third if needed. Thin coats dry faster and are less likely to crack or peel than one heavy layer.
Drying time depends on the paint, the thickness of the coat and the humidity. Many acrylic craft paints feel dry to the touch in roughly 20 to 30 minutes, but check the label and wait longer before taping over a fresh base.
Tip
Starting with a white or cream pumpkin, or a white craft pumpkin, saves a coat or two when you want light colors.
Pattern 1: taped stripes
- Make sure the base coat is fully dry, ideally left for a few hours, so the tape does not lift it.
- Run strips of painter’s tape from the stem to the base, following the pumpkin’s natural grooves. Press the edges down firmly with a fingernail.
- Paint the exposed bands with your second color, brushing away from the tape edge rather than toward it so paint is not pushed underneath.
- Add a second coat if needed.
- Peel the tape slowly, at a low angle, while the last coat is still slightly tacky.
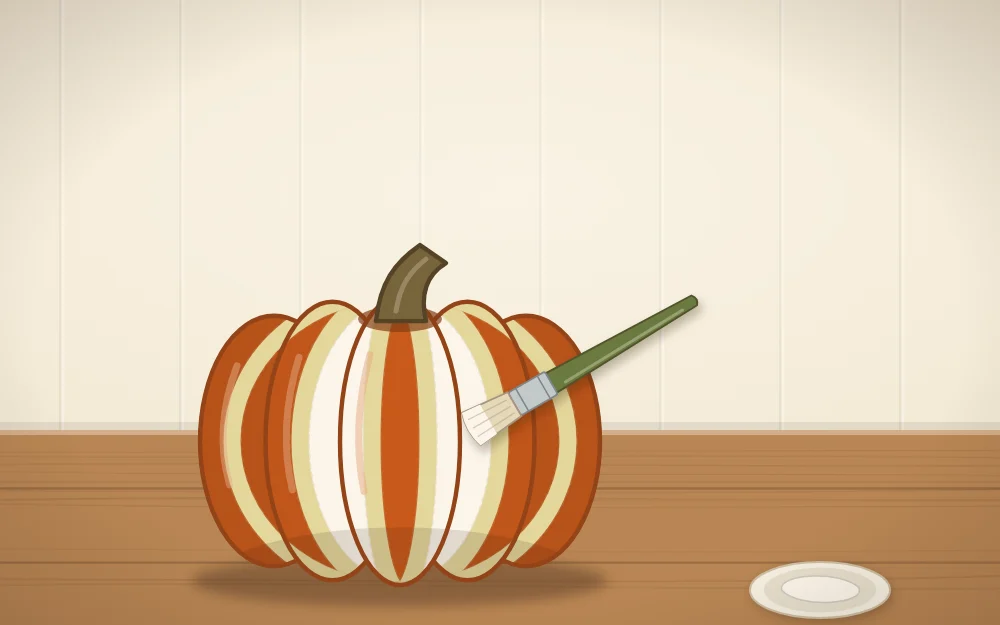
Small bleeds are easy to fix. Let everything dry, then touch up the line with the small round brush and the base color.
Pattern 2: eraser dots
A pencil eraser makes a neat dot about 1/4 inch (6 mm) across. For larger dots, use a round sponge dauber.
- Pour a small puddle of paint onto the plate.
- Dip the eraser straight down, then tap it once on a clean part of the plate to remove the excess.
- Press it squarely onto the pumpkin and lift straight off without twisting.
- Reload after every one or two dots so they stay the same strength.
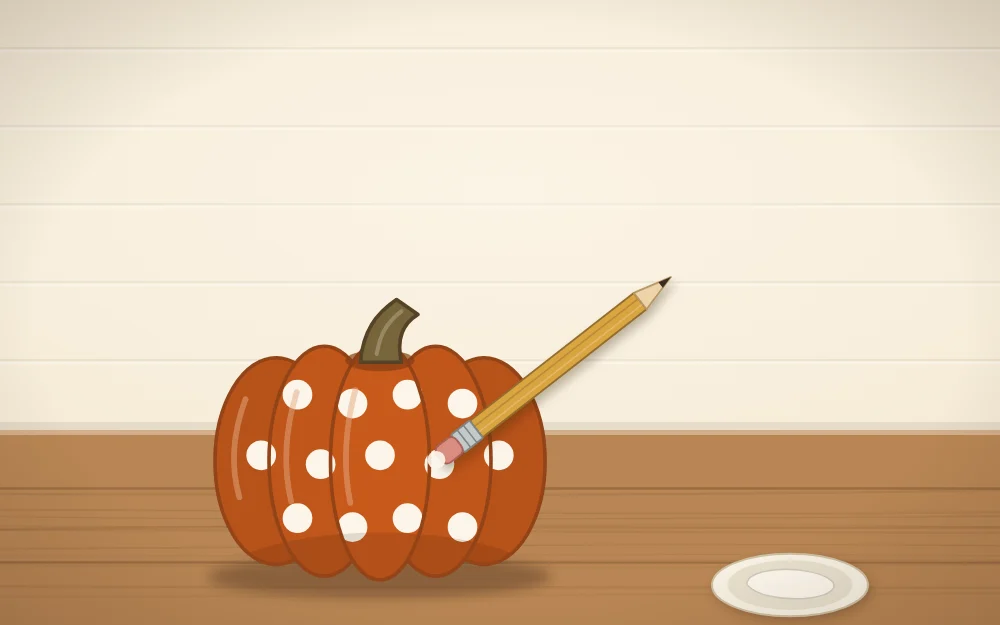
For layout, try evenly spaced rows down each rib, a random scatter, or dots clustered thickly at the top and thinning toward the base like falling confetti.
Pattern 3: color-blocked halves
Color blocking divides the pumpkin into two solid areas. Paint the whole pumpkin in the lighter color and let it dry fully. Then wrap one line of tape around it, either level around the middle or at a slant for a dipped look. Paint below the tape in the darker color, apply a second coat and peel the tape as before.
Because a pumpkin is ribbed, the tape will not sit perfectly flat. Press it into each groove, or skip the tape and paint a slightly wavy line freehand, which often suits the shape better.
Pattern 4: simple plaid
Plaid looks complicated but is only crossing lines in two widths.
- Start with a dry base coat in cream or tan.
- With the flat brush and slightly thinned paint, pull wide vertical stripes from stem to base, leaving gaps of about the same width.
- When dry, paint wide horizontal bands around the pumpkin in the same color. Where the bands cross, the color deepens.
- With the small round brush and a darker or contrasting color, add one thin line down the center of each wide stripe, vertical and horizontal.
Slightly uneven lines are part of the charm, so resist the urge to correct every wobble.
Sealing, display and care
Sealing is optional. Indoors, most painted pumpkins are fine without it. A clear acrylic sealer adds some protection against scuffs and damp on a covered porch. If you use a spray sealer, apply it outdoors and follow the label for distance, coats and drying time.
A painted real pumpkin is decoration only and not for eating afterward. It is still perishable: uncut pumpkins often last a few weeks in cool, dry conditions, but that is never certain. Keep them out of rain and direct sun, and set them on a tray indoors.
Painted craft pumpkins are worth keeping. Wrap each one in tissue so the paint does not stick or scratch, and see how to store fall decorations for the rest of the routine. For techniques beyond the brush, such as twine, fabric and decoupage, browse these no-carve pumpkin decorating ideas.
Frequently asked questions
What kind of paint works best on pumpkins?
Acrylic craft paint is the usual choice. It grips clean, dry pumpkin skin, comes in a wide range of colors, dries fairly quickly and washes off brushes with water while wet. Apply two or three thin coats instead of one thick one for smoother, more even coverage.
Why is the paint peeling off my pumpkin?
Peeling usually comes from a surface that was dusty, waxy or damp, or from paint applied too thickly. Wipe the pumpkin clean, dry it completely and let a cold pumpkin reach room temperature first. Removing tape too quickly from a base coat that has not fully dried can also lift paint.
Do I have to seal a painted pumpkin?
It is optional. Pumpkins displayed indoors generally do well with paint alone. A clear acrylic sealer can help with scuffs and damp on a covered porch. Spray versions should be used outdoors, following the label, and a sealed real pumpkin is still perishable.