DIY Thanksgiving Decorations: Simple Ideas for the Whole House
Shift the fall decor you already have toward Thanksgiving with a thankful tree, a harvest banner, a gratitude jar, a sideboard display and a one-week plan.

Good DIY Thanksgiving decorations rarely mean starting from scratch. If pumpkins, leaves and a wreath are already out, most of the work is done. The shift toward Thanksgiving is a matter of adding a few pieces about harvest, gratitude and gathering, and clearing a little space for guests.
The ideas below move through the house in the order people see it: the entry, the living area, the table and a kids’ table. A one-week timeline at the end spreads the making out so nothing is left for the morning of the meal.
Start With What Is Already Out
Walk through the house and look at your fall decor as a guest would. Keep the pumpkins, wheat, pinecones, leaves and warm colors. Put away anything tied to late October, such as spooky pieces, and anything that has faded or softened.
Then add one gratitude or harvest piece per area rather than redecorating every surface.
The Entry: A Warm Welcome With Room to Walk
Guests arrive carrying dishes and coats, so the entry needs to be clear before it is pretty. Leave your fall wreath on the door and swap the bow for a wide ribbon in rust, gold or deep red. Group pumpkins to one side of the door instead of both, and keep walkways and steps clear.
Inside, a small table or bench can hold one simple arrangement: a jar of wheat stems, a bowl of mini pumpkins or a short stack of three pumpkins.
The Living Area: A Harvest Banner and a Sideboard
A harvest banner with shapes
A banner made of shapes rather than letters is quick to cut and suits any room. Cut leaves, pumpkins, acorns and wheat sheaves from cardstock or felt, each about 4 inches (10 cm) tall, and plan on roughly ten to twelve shapes for a 5-foot (1.5 m) length. Punch two holes near the top of each and thread them onto twine. The full method, including spacing and hanging, is in this fall banner tutorial.
Hang the banner on a wall, a window frame or the front edge of a shelf with removable adhesive hooks. If it goes on a mantel, keep it well away from the fireplace opening and any other heat source, since paper, felt and twine burn easily.
A simple sideboard display
A sideboard or console often becomes the buffet, so decorate the back half and leave the front free. Stand a wheat bundle tied with twine at one end for height, line up three pumpkins in graduated sizes beside it and lay a short leaf garland along the front edge.
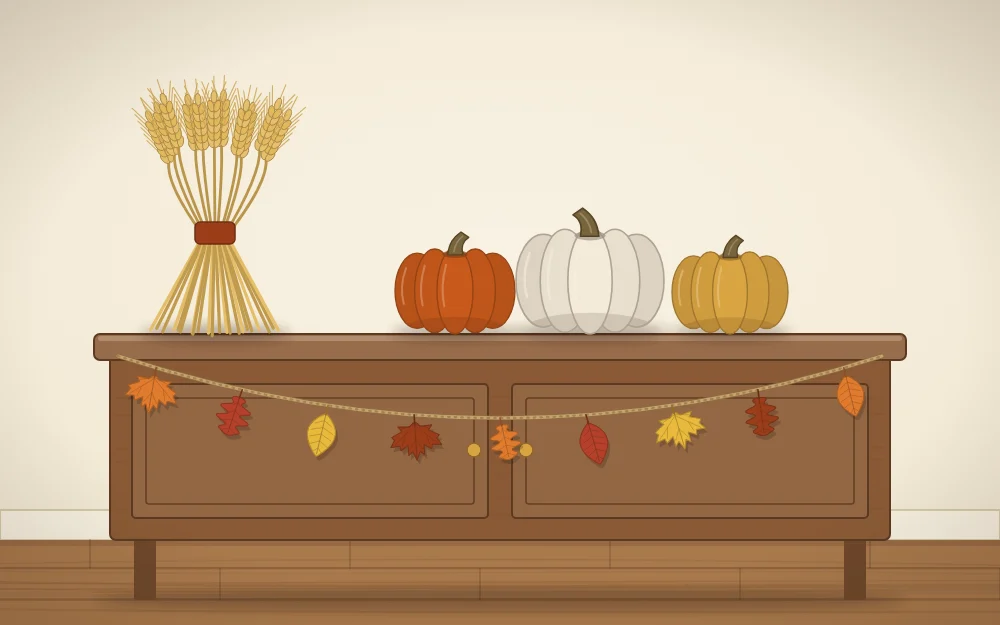
For a glow in the evening, tuck a strand of battery string lights behind the pumpkins or add two flameless LED candles. Skip real candles here, because the wheat and leaves sit right beside them.
A Thankful Tree for Guests
A thankful tree is the one project that turns decor into something people do together. It is a jar of bare branches hung with paper leaves, and each guest writes on a blank leaf.
- Collect three to five bare branches about 18 to 24 inches (46 to 61 cm) long, where gathering is allowed. Brush off dirt and let them air-dry indoors for a few days.
- Stand them in a heavy jar or vase. Fill the jar with dry rice, acorns or small pebbles so the branches stay upright.
- Cut leaves about 3 inches (7.5 cm) long from cardstock in orange, yellow and red. Plan on about two leaves per guest, plus a few spares.
- Punch a hole in each leaf and tie on a loop of thread or thin twine roughly 6 inches (15 cm) long.
- Set the blank leaves and a few pens in a small dish beside the jar.
Guests write something they are grateful for and hang the leaf on a branch.
A Gratitude Jar
If you do not have space for branches, a gratitude jar does the same job in a smaller footprint. Wrap a band of burlap or ribbon around a clean mason jar and tie it with twine. Cut paper slips about 1 by 4 inches (2.5 by 10 cm) and leave them beside the jar with a pen.
Start the jar a week early, and read a few slips aloud at the meal.
The Table
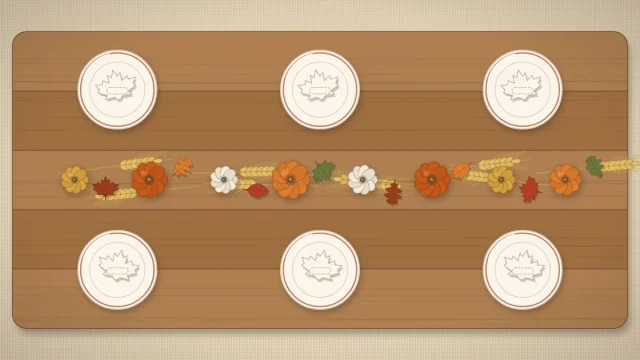
The table is where the food needs the space, so keep the decor low and narrow. A line of small pumpkins, leaves and wheat down the center, with flameless LED candles for light, is enough. The planning details, including what to build on trays so it lifts off, are covered in these Thanksgiving table decor ideas.
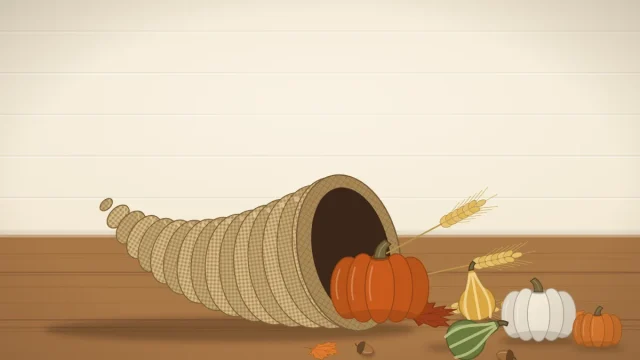
For one larger handmade piece, a paper and burlap horn of plenty filled with gourds and wheat makes a classic harvest focal point for the table or the sideboard. Here is how to make a DIY cornucopia centerpiece.
A Kids’ Table That Keeps Hands Busy
A kids’ table works best when the decorations are the activity. Cover a low table with a sheet of kraft paper taped underneath at the corners, so the whole surface can be drawn on.
- Put crayons in a cup in the middle, within reach of every seat.
- Scatter blank paper leaves for coloring. Finished ones can go on the thankful tree.
- Make a paper strip pumpkin as the centerpiece: light, soft and easy to replace.

Safety note
Leave acorns, beads, felt balls and other small pieces off the kids’ table, and keep them out of reach of small children and pets elsewhere in the house.
A One-Week Timeline
| When | What to do |
|---|---|
| 7 days before | Walk through the house, edit existing decor and gather branches, jars and paper. |
| 5 to 6 days before | Cut paper leaves and banner shapes. Start the gratitude jar. |
| 3 to 4 days before | String and hang the banner. Set up the thankful tree. |
| 2 days before | Arrange the sideboard and entry. Test batteries in LED lights. |
| 1 day before | Set the main table and the kids’ table. Replace any real pumpkins that have softened. |
| The morning of | Add fresh leaves or herbs, switch on the lights and clear the entry. |
Real pumpkins, gourds and fresh leaves are perishable and often last a few weeks in cool, dry conditions, so check them the day before and swap out anything past its best.
Frequently asked questions
How do I turn fall decor into Thanksgiving decor?
Keep the pumpkins, leaves, wheat and warm colors, and put away anything faded or tied to late October. Then add one harvest or gratitude piece in each area, such as a thankful tree, a banner of leaf and pumpkin shapes or a gratitude jar. You rarely need to replace everything.
What do you need to make a thankful tree?
A heavy jar or vase, three to five dry bare branches, a filler such as dry rice or pebbles to hold them upright, cardstock leaves in fall colors, a hole punch, thread or thin twine and a few pens. Plan on roughly two blank leaves per guest so nobody runs short.
When should I start decorating for Thanksgiving?
About a week ahead is comfortable. Use the first days to edit existing decor and cut paper pieces, the middle of the week to hang the banner and set up the thankful tree, and the last two days for the sideboard, entry and tables. Add fresh leaves or herbs on the morning itself.