No-Carve Pumpkin Decorating Ideas: 8 Easy Ways
Eight ways to decorate real or craft pumpkins without cutting them, including paint, decoupage, twine, fabric, leaf applique, ribbon and a stacked topiary.

These no-carve pumpkin decorating ideas skip the knife, the mess and the short life of a cut pumpkin. Everything happens on the surface, with paint, paper, twine, fabric and ribbon, so the projects are calmer to make and easy to share with children.
All eight work on real pumpkins and on foam craft pumpkins. Pick one for a single statement piece, or try several in the same colors and line them up on a bench.
Why uncut pumpkins usually keep longer
A pumpkin’s skin is its protection. Cutting into it exposes the moist flesh to air, and a carved pumpkin generally begins to soften and shrivel within days. An intact pumpkin, kept cool and dry, often lasts a few weeks and sometimes longer.
That is a general pattern, not a promise. Lifespan depends on the pumpkin itself, the weather and where it sits. To give yours a fair chance, choose one with a firm stem and no soft spots, wipe it clean and dry, and keep it out of direct sun and off damp ground.
Real or foam craft pumpkins?
| Feature | Real pumpkin | Foam craft pumpkin |
|---|---|---|
| Look | Natural shape and stem | Uniform, lightweight |
| Lifespan | Perishable, often a few weeks | Reusable for years if stored dry |
| Best for | Quick seasonal projects, porches | Detailed work you want to keep |
| Afterward | Compost if undecorated parts allow, otherwise discard | Wrap and store |
If you plan to spend an hour on decoupage or a careful pattern, a craft pumpkin rewards the effort. For a quick twine wrap or a ribbon, a real one is perfect. Either way, a decorated real pumpkin is decoration only and not for eating afterward.
Paint and pattern ideas
1. Solid or patterned paint
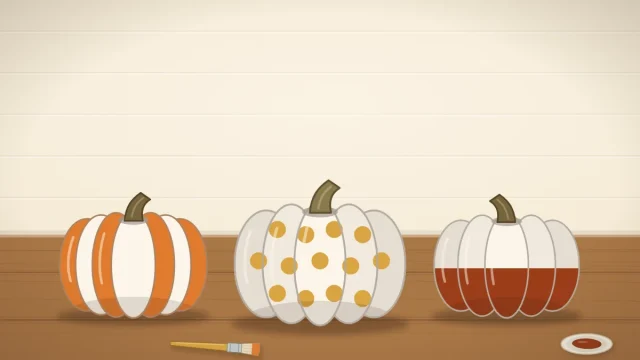
Acrylic craft paint turns any pumpkin into the color your room needs. A single solid coat in cream, sage or mustard is the simplest version, and stripes or dots follow easily from there. The full method, from cleaning the surface to taping stripes, is in the guide to painted pumpkin ideas.
2. Stickers and paint-pen patterns
For the least mess, press on round or star-shaped stickers, or draw directly on the skin with paint pens. Simple repeated marks work best on a curved surface: short dashes, small crosses, scallops along each rib, or a ring of leaves around the stem. White pen on an orange pumpkin and black pen on a white one both look crisp.
Paper and leaf ideas
3. Decoupage with paper napkins
Decoupage means gluing thin paper to a surface and sealing it with more glue. Printed paper napkins are ideal because they are thin enough to follow a pumpkin’s curves.
- Separate the napkin layers and keep only the printed top layer.
- Tear or cut out the motifs you want.
- Brush a thin coat of decoupage medium onto a small area of the pumpkin.
- Lay the paper on and smooth it gently from the center outward with a soft brush.
- Brush a second thin coat over the top and let it dry as the label directs.
A white or cream pumpkin shows the print best, because napkin paper turns translucent when wet.
4. Pressed-leaf applique
Flat pressed leaves, or leaf shapes cut from paper or thin felt, can be glued on the same way. Arrange them first, then brush medium on the pumpkin, press each leaf down and seal over it. Stems pointing toward the pumpkin’s stem give a tidy, radiating pattern. Collect leaves only where it is allowed, and expect real ones to fade over time.

Twine, fabric and ribbon ideas
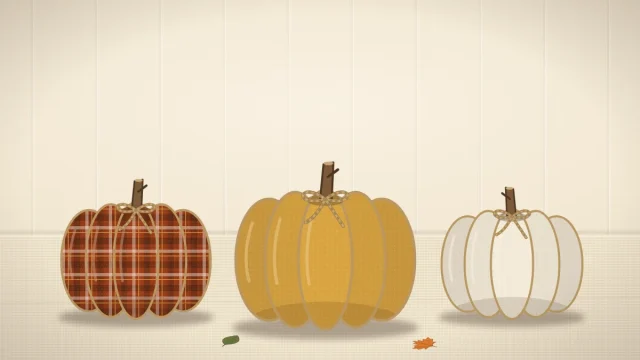
5. Twine wrap
Run a short line of tacky craft glue or low-temperature glue from the stem down one groove, press the twine into it, and continue groove by groove so the twine outlines each rib. For a fuller look, coil twine around the stem and spiral outward to cover the top third. A low-temperature glue gun still burns skin, so press the twine down with a craft stick.
6. Fabric wrap
Cut a square of flannel, plaid cotton or burlap large enough to reach from the base to the stem on all sides. Set the pumpkin in the center, gather the fabric up around the stem and tie it tightly with twine or ribbon. Trim or tuck the excess. There is no glue involved, so the pumpkin underneath stays clean. If you like the look, no-sew fabric pumpkins give you a soft version that stores for next year.
7. Ribbon and buttons
Tie a generous bow around the stem and let the tails trail down the sides. Then glue a vertical row of mismatched buttons down one rib, or dot them around the top like a collar. Buttons are small, so keep finished pumpkins and loose supplies away from small children and pets.
Tip
Decorating three pumpkins in three different techniques looks collected rather than chaotic when all of them share the same two or three colors.
A stacked pumpkin topiary
8. Three-tier topiary
Choose three pumpkins that step down in size and have fairly flat tops and bottoms. Twist off or trim the stems of the lower two so the next pumpkin can sit level. Stand the largest in a plain plant pot, add the medium one, then the smallest, which keeps its stem.
With craft pumpkins, a wooden dowel pushed down through the center keeps the stack steady. With real ones, rely on wide, flat pumpkins and a snug pot, and tuck moss or leaves into the joins to hide gaps.

Displaying and caring for them
Indoors, set real pumpkins on a plate, tray or trivet so any moisture underneath does not mark the furniture. Outdoors, a covered spot protects paint, paper and fabric from rain. Group pumpkins in odd numbers to one side of the door and keep walkways and steps clear; these fall entryway decorations show how to build the rest of the porch around them.
Check real pumpkins every few days. When one softens, leaks or smells, it is time to let it go.
Frequently asked questions
How long does a decorated uncarved pumpkin last?
There is no fixed answer, because pumpkins are perishable and vary a lot. An intact pumpkin kept cool, dry and out of direct sun often lasts a few weeks, which is generally longer than a carved one. Check it every few days and discard it once it softens or leaks.
What glue sticks to a real pumpkin?
Tacky craft glue and decoupage medium both hold well on clean, dry pumpkin skin for light items such as paper, leaves and twine. A low-temperature glue gun is quicker for buttons and ribbon. Wipe the pumpkin and let it dry fully first, since dust and moisture weaken any adhesive.
Can I compost a pumpkin after decorating it?
It depends on what you added. A pumpkin wrapped only in fabric or tied with ribbon can be unwrapped and composted. One covered in paint, glue, sealer or buttons is better discarded according to your local waste guidance, since those materials do not belong in a compost pile.