Pinecone Crafts for Fall: 7 Simple Decor Projects
Seven small pinecone projects for fall, from a bowl filler and dry-brushed tips to place markers, a ribbon cluster and a jar with battery string lights, plus how to clean and air-dry cones first.
Pinecone crafts for fall start with a material that costs nothing and already looks finished. A cone needs no cutting or shaping to be decorative, so most of these projects are about arranging, tying and adding a small touch of color.
Below are seven small projects, from a two-minute bowl filler to a jar lit with battery string lights. All of them begin with the same simple preparation, so that comes first.
Collecting and Preparing Pinecones Without Heat
Gather cones only where collecting is allowed. Your own yard is the simplest source; many parks and nature reserves ask visitors to leave natural materials in place, so check the rules before you fill a bag. Choose cones that have already fallen, feel firm and are free of mold.
- Brush. Knock each cone gently against the ground, then use a dry, stiff brush or an old toothbrush to remove soil, needles and loose bits from between the scales.
- Air-dry. Spread the cones in a single layer on newspaper or a tray in a dry indoor spot with some air movement. Leave them for several days, and up to a week or two if they were damp when you found them.
- Inspect. Look over each cone for insects, webbing or soft spots. Set aside any you are unsure about and leave them outdoors.
Closed cones usually open as they dry. The scales respond to moisture, closing when wet and spreading when dry, which is explained in this article on the conifer cone. The same preparation serves larger builds too, such as a full pinecone wreath.
1. A Bowl of Pinecones
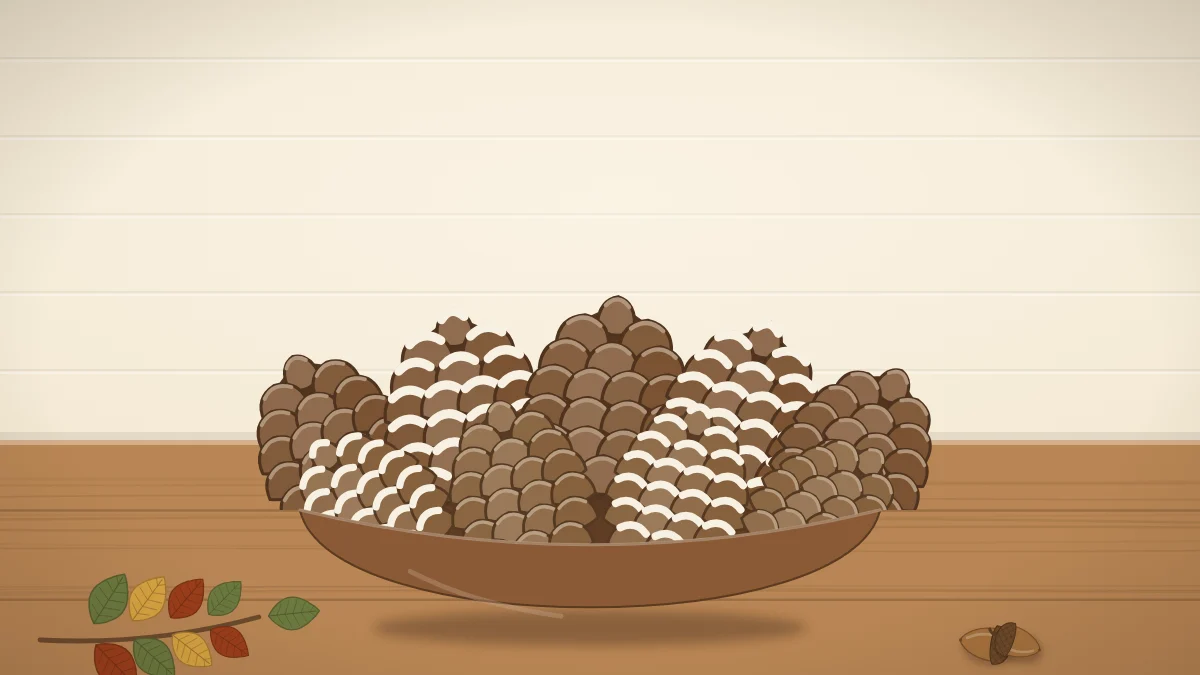
The simplest project is no project at all. Fill a shallow wooden bowl, a basket or a tray with cones of mixed sizes, starting with the largest at the bottom and finishing with a few small ones on top. Tuck in a sprig of leaves, a small craft pumpkin or a few pieces from your acorn crafts for contrast.
A bowl about 10 inches (25 cm) across takes roughly 12 to 15 medium cones, and it takes seconds to move when you need the table.
2. Dry-Brushed Painted Tips
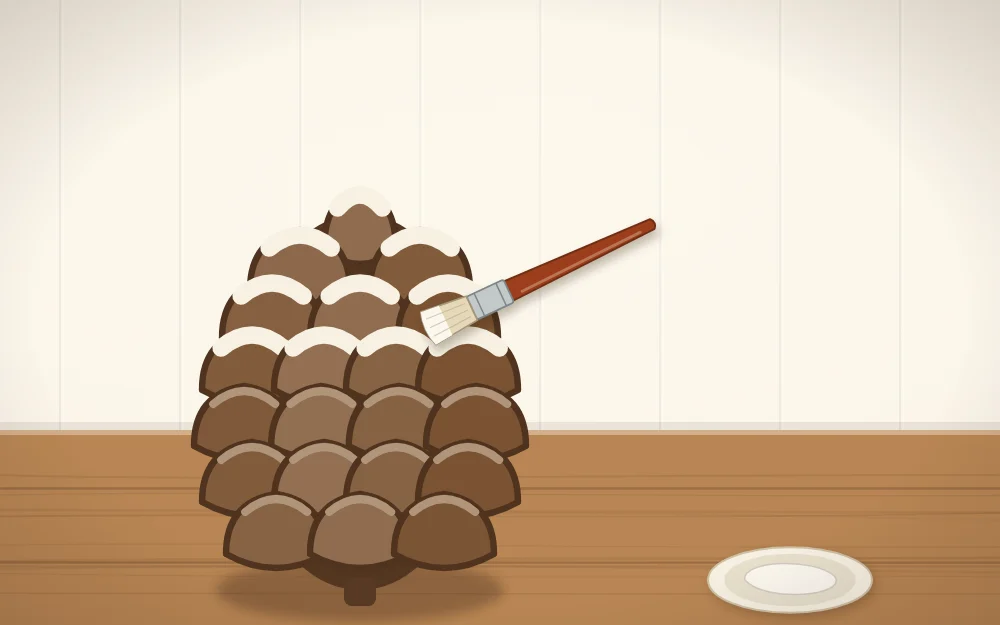
A touch of white or cream on the tips of the scales looks like a light frost and makes the shape of the cone stand out.
- Squeeze a little acrylic craft paint onto a dish.
- Dip just the end of a flat, dry brush into the paint, then wipe most of it off on a paper towel.
- Drag the brush lightly across the outer edge of each scale, working from the base of the cone toward the tip.
- Stand the cone on its base to dry, following the time on the paint label.
Less paint is better. If the brush leaves a solid white patch, it is carrying too much.
3. Pinecone Place Markers
A medium cone that sits flat on its base makes a ready-made card holder. Cut a small card from heavy paper, about 2 by 3 inches (5 by 8 cm), and slide it between two upper rows of scales. If the cone tips over, twist it against a sheet of sandpaper to level the base, or glue it to a slice of branch or a small wooden disc.
A paper leaf can stand in for the card.
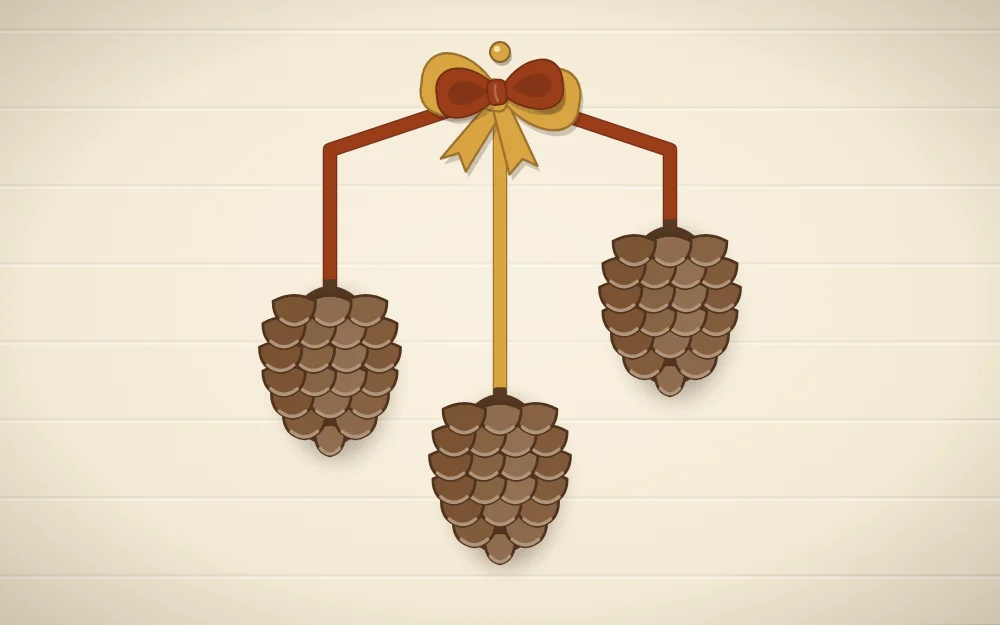
4. A Hanging Cluster with Ribbon
Three cones hung at different heights make a quick decoration for a door, a cabinet knob or the end of a curtain rod.
- Cut three lengths of ribbon, roughly 10, 13 and 16 inches (25, 33 and 41 cm).
- Attach one ribbon to the base of each cone. Either tuck the end between the lowest scales with a dot of glue from a low-temperature glue gun, or wrap thin floral wire around the lowest row of scales and tie the ribbon to the wire.
- Gather the three free ends, knot them together and cover the knot with a bow.
A low-temperature glue gun can still burn skin, so keep fingers clear of the nozzle and the fresh glue. Single small cones can also be tied between the pom-poms of a fall felt garland.
5. Pinecone Flowers from Cut Scales
Seen from its base, a pinecone looks like a flower with rings of petals. To use that, an adult cuts across the cone with strong garden pruners about one third of the way up from the base, leaving a flat rosette. Dry cones are tough and can slip, so cut slowly on a stable surface and keep the other hand well back.
Paint the rosette in a solid color, or just the tips, and glue a button, a wooden bead or a small felt ball in the center. A handful of these glued to a twig stem, a plain frame or the lid of a box makes a simple fall accent. Beads, buttons and small cones are easy to swallow, so keep finished pieces out of reach of small children and pets.
6. A Mini Tree-Shaped Stack
A single tall cone standing on its base already resembles a small evergreen. Glue it to a cork, a wooden spool or a slice of branch to act as a trunk, and it becomes a tiny tree for a shelf.
For a larger version, build a stack. Start with a ring of five or six small cones glued tips-outward on a cardboard circle about 4 inches (10 cm) wide. Add a ring of four on top, set slightly inward, then three, then a single upright cone as the peak. The result stands about 7 to 8 inches (18 to 20 cm) tall. A dry brush of white on the tips ties the layers together.
7. A Jar Display with Battery String Lights
Feed a strand of fine-wire, fairy-style battery string lights into a clean, dry glass jar, dropping in small cones as you go so the lights are spread through the jar and not bunched at the bottom. Keep the battery pack at the top, under the lid or hidden behind the jar, where you can reach the switch.
Use only battery lights here, never a candle or any real flame, because dry cones burn easily. Switch the lights off when you leave the room, and keep any pinecone display well away from a fireplace, stove or heater.
Frequently asked questions
How do I clean pinecones for crafts?
Brush off soil and needles with a dry, stiff brush, then spread the cones in a single layer indoors for several days so they dry and open. Check each one for insects or soft, moldy spots before bringing it into your display, and leave doubtful cones outside.
Why did my pinecones close up again?
Pinecone scales react to moisture. They close when the cone gets damp and open again as it dries. If cones close after rain or a humid spell, move them to a dry indoor spot with good air movement and give them a few days to reopen.
What paint works on pinecones?
Ordinary acrylic craft paint works well. For frosted tips, use a flat brush with most of the paint wiped off and drag it lightly across the edges of the scales. Let the cones dry standing on their bases for the time given on the paint label.