How to Preserve Fall Leaves for Crafts
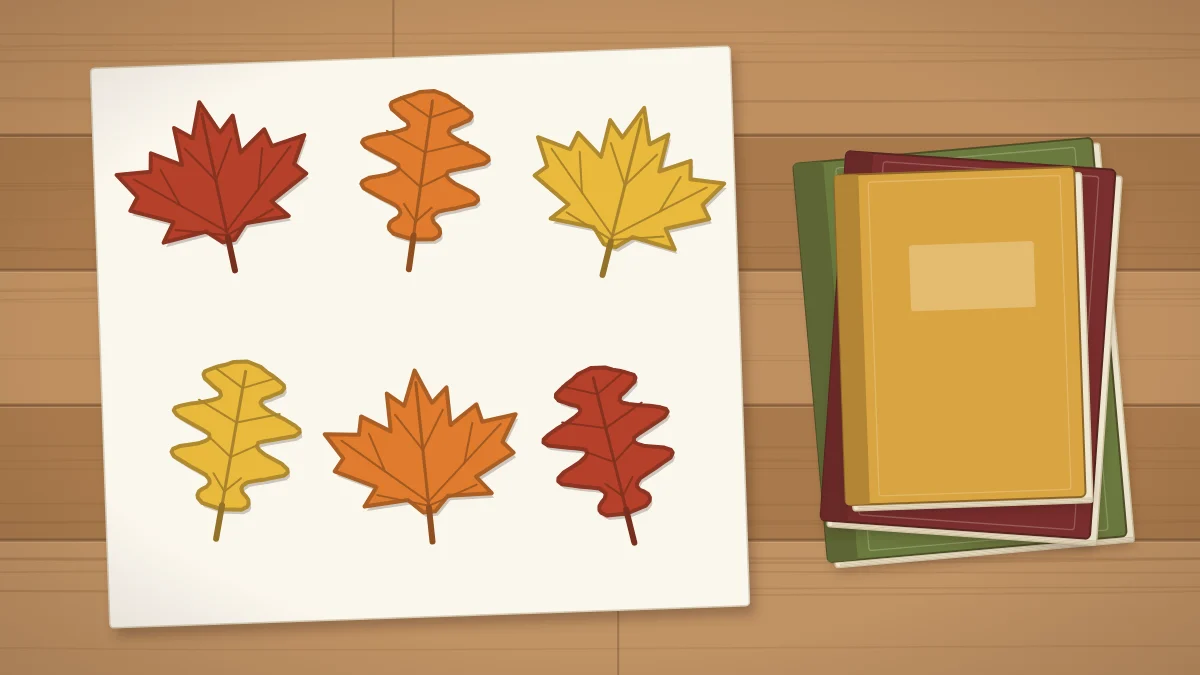
Three heat-free ways to preserve fall leaves, compared: pressing in heavy books, a glycerin and water soak for flexible leaves, and sealing with decoupage medium, with what each is best for.
Project at a glance
What you need
- Fresh, flat, unblemished fall leaves
- Plain absorbent paper and heavy books
- Vegetable glycerin and warm water
- Shallow dish and a small plate
- Decoupage medium
- Soft brush and parchment paper
Learning how to preserve fall leaves lets you keep a little of the season’s color long enough to craft with it. A fresh leaf left on a table curls and turns brittle within days, but a few simple treatments slow that down and give you flat, workable material.
Three methods are covered here, and none of them uses heat: pressing in books, soaking in glycerin and water, and sealing with decoupage medium. Each gives a different result, so the right choice depends on what you plan to make.
Choosing Leaves Worth Preserving
Preservation holds a leaf roughly as it is; it does not improve it. Start with the best leaves you can find.
- Fresh: pick leaves that have just fallen or are about to. They should bend without cracking.
- Flat: skip any that have already begun to curl at the edges.
- Unblemished: avoid spots, holes, tears and patches of mold.
- Dry on the surface: blot off rain or dew with a paper towel before you start.
Maple, oak, ginkgo, sweetgum and beech all work well. Collect only where it is allowed, and gather more than you need, since a few in every batch will disappoint. Work on them the same day if you can. The reds and yellows come from pigments that are already breaking down, as this overview of autumn leaf color explains, so time matters.
Method 1: Pressing Between Paper in Heavy Books
Pressing is the oldest and simplest approach. It removes moisture slowly while holding the leaf flat.
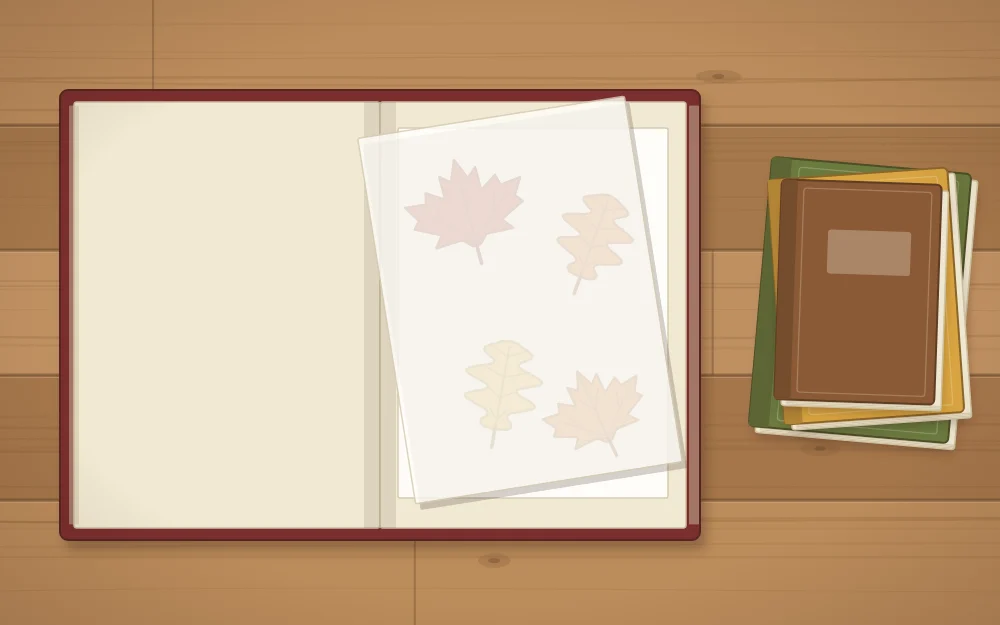
- Open a large, heavy book near the back. Lay a sheet of plain absorbent paper, such as printer paper or newsprint, on the page. Avoid glossy paper and textured paper towels, which can leave a pattern.
- Arrange the leaves in a single layer so that none touch or overlap.
- Cover them with a second sheet of paper and close the book.
- Stack several more heavy books on top and leave the pile in a dry room.
- After about a week, check one leaf. If it feels cool or limp, swap in fresh paper and give it another week.
Most leaves are ready in about one to two weeks; thick ones can take longer. A pressed leaf is paper-thin, flat and fairly brittle, with color that is usually a shade or two quieter than when it was fresh.
Method 2: A Glycerin and Water Soak
Vegetable glycerin, sold in pharmacies and craft stores, replaces some of the water in the leaf. The result stays soft and bendable instead of crisp, which is useful for anything that has to curve.
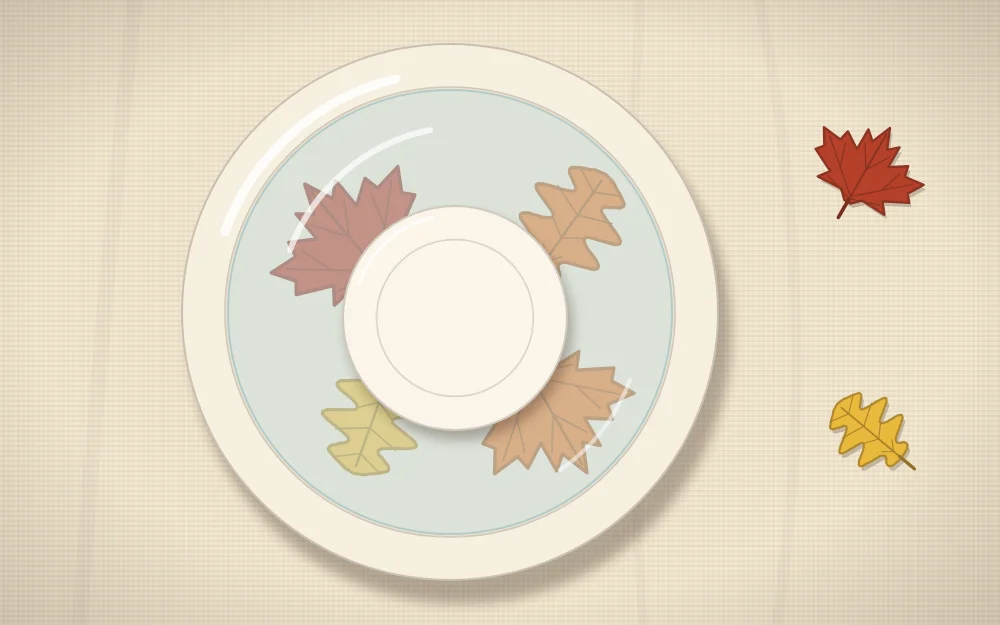
- Mix one part glycerin with two parts warm tap water in a shallow dish and stir until it looks even.
- Lay the leaves in the liquid in one or two layers.
- Rest a small plate or a second, slightly smaller dish on top to hold them under the surface.
- Leave them for several days, usually three to six. Check daily after the third day.
- When the leaves feel supple and slightly leathery, lift them out, blot both sides with paper towels and let them air-dry flat.
Expect a change in color. Glycerin tends to deepen and darken leaves, so bright yellow may shift toward gold or olive and red toward burgundy. The surface can feel slightly waxy to the touch. Leaves treated this way are a good match for a wreath; the fall leaf wreath guide explains how to layer them and why real leaves need gentler handling than felt.
Tip
Label the dish and keep it out of reach of children and pets while the leaves soak. Pour the used mixture away afterward instead of saving it.
Method 3: Sealing Pressed Leaves with Decoupage Medium
Decoupage medium is a water-based glue and sealer in one. Brushed over a leaf that has already been pressed, it adds a thin protective coat that makes the leaf a little less fragile and slows fading.
- Start with fully pressed, dry leaves. Sealing a damp leaf can trap moisture.
- Lay the leaves on a sheet of parchment paper so they do not stick.
- Brush a thin, even coat over the front with a soft brush, working from the center vein outward.
- Let it dry clear, following the time on the label, then turn the leaves and coat the backs.
- Add a second thin coat if the leaf still feels delicate.
Matte medium keeps the leaf looking natural; gloss adds shine. The same medium will glue the leaf to glass, wood or a craft pumpkin, which is how leaf-covered jars and pumpkins are made.
Comparing the Three Methods
| Method | Time (approximate) | Result | Best for |
|---|---|---|---|
| Pressing in books | 1 to 2 weeks | Flat, thin, brittle | Framing, cards, place settings |
| Glycerin soak | 3 to 6 days, plus drying | Soft, flexible, darker | Wreaths, garlands, bowl fillers |
| Decoupage seal | 1 to 2 weeks pressing, plus a day | Flat with a light protective coat | Jars, pumpkins, strung leaves |
What to Make with Preserved Leaves
Pressed and sealed leaves can stand in for paper ones on a strand of twine. The spacing and hanging advice in the paper leaf garland tutorial applies directly; just glue the stems instead of punching holes, because a punch can shatter a real leaf.
Flexible glycerin leaves tuck easily into arrangements of dried stems, and they soften the straight lines of the bundles in wheat and corn husk decor. Flat pressed leaves suit frames, gift tags and name cards.
How Long Preserved Leaves Last
No method is permanent. Colors soften over time whatever you do, and strong sunlight speeds that up. Pressed and sealed leaves often look good for a season and sometimes longer; glycerin leaves usually stay flexible for some months. Treat these as rough expectations, not promises.
To get the most from them, display leaves out of direct sun and away from damp. Store spares flat between sheets of paper in a box, in a cool, dry place. Preserved leaves are still dry plant material that burns easily, so keep them away from a fireplace, stove or heater, and light any leaf display with battery LED tea lights or battery string lights only.
Frequently asked questions
What is the easiest way to preserve fall leaves?
Pressing is the easiest. Place fresh, dry leaves between two sheets of plain paper inside a heavy book, stack more books on top and wait about one to two weeks. It needs no special supplies and gives flat leaves suited to framing, cards and table details.
What is the ratio of glycerin to water for leaves?
A common mix is one part vegetable glycerin to two parts warm water. Submerge the leaves in a shallow dish, weigh them down with a small plate and leave them for several days until they feel supple. Blot them dry afterward and expect the colors to deepen.
Will preserved leaves keep their color?
Only for a while. Every method slows fading, but none stops it, and bright sunlight speeds it up. Pressed leaves tend to look a little quieter than fresh ones, and glycerin leaves usually darken. Displaying them out of direct sun helps them look good for longer.