Mason Jar Fall Decor: 5 Easy Projects with Jars
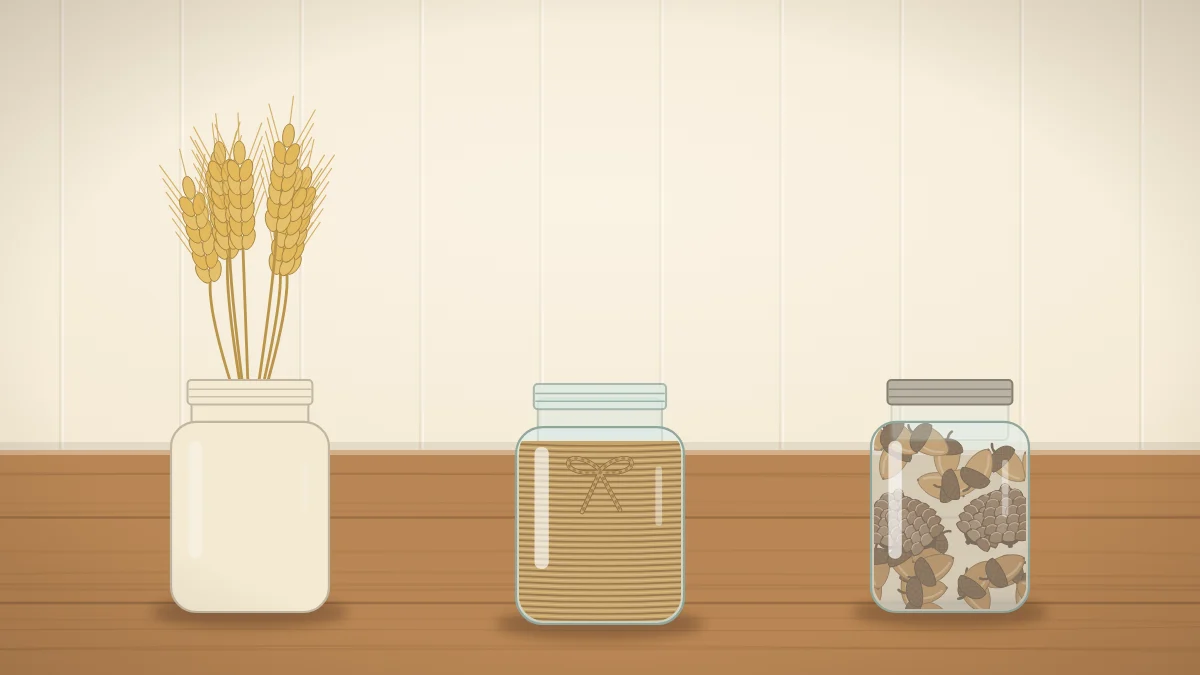
Five simple jar projects for fall with one shared prep routine: a painted vase, a twine wrap, a leaf-covered jar lit by a battery light, a layered filler jar and a dried-stem vase.
Project at a glance
What you need
- Clean glass jars in pint and quart sizes
- Acrylic or chalk-style craft paint and a flat brush
- Jute twine and tacky craft glue
- Decoupage medium and pressed or faux leaves
- Battery LED tea light or battery string lights
- Dry fillers such as acorns, small pinecones and dried beans
- Dried wheat or grass stems
A clean glass jar is one of the most useful blanks in fall crafting. It is a vase, a display case and a soft light all in one, and you may already have a few in a cupboard. Mason jar fall decor also suits beginners: every project here uses simple supplies, and none of them takes more than an evening.
The five ideas below share the same preparation, so it makes sense to clean a batch of jars at once and then decorate them in different ways. Mixed heights look best together, so save both pint and quart sizes, plus any plain food jars with nice shapes.
Prep every jar the same way
- Soak the jars in warm, soapy water for about 15 minutes and peel off the labels.
- Rub away leftover adhesive with a little cooking oil on a cloth, then wash again so no oily film remains.
- Dry the jars completely, inside and out. Paint and glue grip poorly on damp or greasy glass.
- Wipe the outside with rubbing alcohol on a cotton pad just before you paint or glue, and try not to touch the surface afterward.
Project 1: a painted and distressed jar vase
Acrylic craft paint or chalk-style paint in cream, mustard or rust turns a plain jar into a farmhouse-style vase. Paint the outside only, so the inside can still hold water.
- Brush on a thin first coat with a soft, flat brush. It will look streaky; that is normal on glass.
- Let it dry, usually about an hour, though the paint label is the better guide.
- Add a second thin coat and, if needed, a third. Thin layers peel less than one thick one.
- When the paint is fully dry, rub fine sandpaper lightly over the raised lettering, the shoulder and the rim threads so a little glass shows through.
- Wipe off the dust with a dry cloth.
A clear acrylic sealer is optional. If you use a spray, do it outdoors and follow the label. Painted jars are for wiping, not soaking, so clean them with a barely damp cloth.
Project 2: a twine-wrapped jar
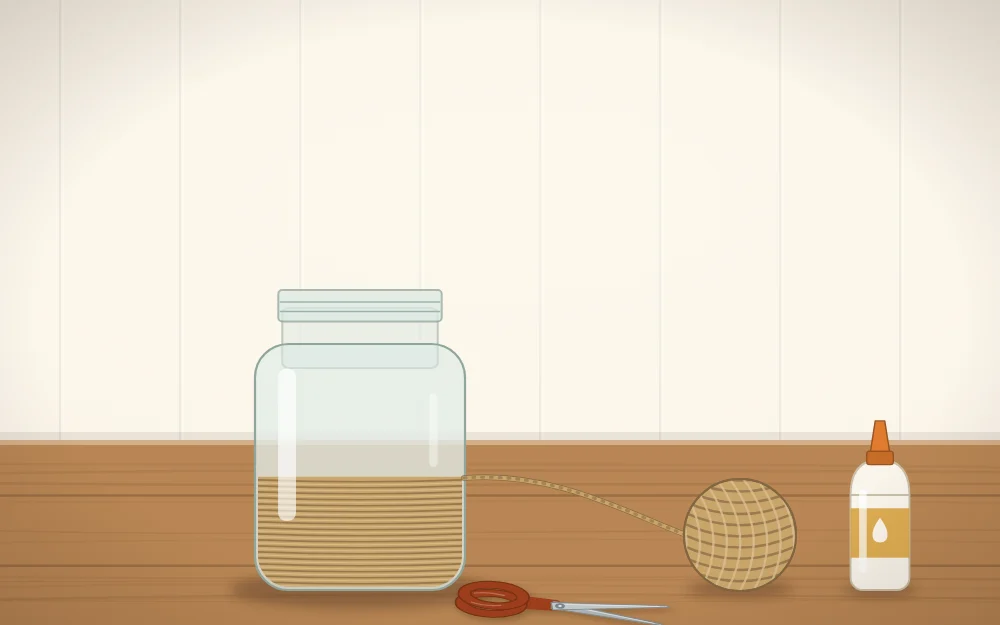
Twine adds texture and hides a jar that is scratched or has stubborn label marks. A pint jar takes roughly 15 to 20 feet (4.5 to 6 m) of medium jute twine, so buy a full ball if you plan to wrap several.
Run a thin line of tacky craft glue around the base of the jar and press the end of the twine into it. Keep winding upward, pushing each round snugly against the one below and adding a ring of glue every inch (2.5 cm) or so. Stop under the threads, or carry on to the rim for full coverage, then tuck the cut end under the last round with a dot of glue.
Project 3: a leaf-decoupaged jar with a battery light
This is the project that glows. Thin, flat leaves are glued to the outside of the glass with decoupage medium, and a small light inside shows off their shapes and veins. If the technique is new to you, decoupage simply means gluing paper-thin pieces to a surface and sealing them with more of the same medium.
Real leaves must be pressed first, or they will curl away from the curve of the jar; the guide on how to preserve fall leaves explains how. Thin faux fabric leaves or leaf shapes cut from tissue paper are an easy swap.
- Brush a thin layer of decoupage medium onto a section of the jar.
- Press a leaf onto it, smoothing from the center out to the edges.
- Brush more medium over the top of the leaf, sealing the edges.
- Continue around the jar, overlapping the leaves slightly or leaving clear gaps.
- Let it dry until the milky film turns clear, often several hours, then add one more coat over everything.

Safety note
Light this jar only with a battery LED tea light or a short strand of battery string lights. Never put a real candle in a jar decorated with leaves, paper or twine, because all of those materials burn easily.
Project 4: a layered filler jar
No glue, no paint and about ten minutes. Pour dry natural fillers into a clear jar in bands so each layer shows through the glass. Good choices include acorns, small pinecones, dried beans in two colors, unpopped popcorn kernels and split peas.
Put the smallest, heaviest filler at the bottom and the largest pieces on top, and make each band roughly 1 to 2 inches deep. Tilt the jar slightly as you pour if you like sloped layers. Tie a twine bow around the neck to finish. For more ways to use the acorns you collect, see the acorn crafts guide.
Natural fillers should be brushed clean, air-dried indoors for several days and checked for insects before they go in. Beans and kernels used as decor are not for eating afterward, and small pieces belong well out of reach of small children and pets.
Project 5: a wheat or dried-stem vase
Any of the jars above becomes a vase. Dried wheat, ornamental grass plumes, seed heads or bare twigs need no water at all, which makes them the easiest filling. Trim the stems so the arrangement stands about one and a half to two times the height of the jar; shorter than that and it looks cramped, much taller and it may tip.
If thin stems flop to the sides, add a couple of inches of dried beans or small pebbles in the bottom to hold them upright and steady the jar.
Tip
Decorate jars in odd numbers. Three jars of different heights, each finished in a different way but in the same two or three colors, read as one arrangement.
Where to put your finished jars
A trio of jars down the middle of the table is a quick centerpiece, and you will find more low arrangements in these DIY fall centerpiece ideas. Single jars work on a windowsill, a bathroom shelf or a bedside table.
Keep painted, wrapped and decoupaged jars indoors or on a covered porch, since rain softens glue and lifts paint. At the end of the season, empty the fillers, wipe the jars and wrap each one in paper so the finishes do not rub against each other in storage.
Frequently asked questions
What kind of paint sticks to glass jars?
Acrylic craft paint and chalk-style paint both work on clean, dry glass when applied in two or three thin coats. Wiping the jar with rubbing alcohol first helps the paint grip. The finish is decorative and can scratch, so wipe painted jars with a barely damp cloth instead of washing them in the sink.
Can I put a real candle in a decorated jar, or only a battery light?
No. Leaves, paper, twine and dried stems burn easily, and glue and paint are not made to sit next to a flame. Use a battery LED tea light or a short strand of battery string lights instead. They give a similar warm glow through the leaves. Switch them off when you leave the room, and replace the batteries as the light dims.
How do I remove sticky label residue from a jar?
Soak the jar in warm, soapy water, peel off the label, then rub the remaining adhesive with a little cooking oil on a cloth until it rolls away. Wash the jar again with dish soap to remove the oil, dry it fully, and wipe with rubbing alcohol before painting or gluing.