Burlap Fall Wreath: The Easy Loop Method
Make a full, ruffled burlap wreath by pushing ribbon loops through a wire frame. Covers how much ribbon a 14 inch frame takes, locking the loops, fraying and a simple leaf accent.

Project at a glance
What you need
- 14 in (36 cm) wire wreath frame
- About 30 ft (9 m) of burlap ribbon, 5 to 6 in (13 to 15 cm) wide
- Brown chenille stems or floral wire
- Scissors
- Faux or felt fall leaves
- Plaid ribbon for a bow
A burlap fall wreath is the quickest way to get a big, full wreath on the door, because the burlap itself does nearly all the work. One long ribbon is pushed through a wire frame in puffy loops, with no cutting into pieces and almost no glue.
This is often called the loop or bubble method. Most of the wreath is the same small move repeated around the ring: push, push, push, twist, slide.
What you need
- A 14 inch (36 cm) wire wreath frame, the kind with four rings joined by crossbars
- Burlap ribbon 5 to 6 inches (13 to 15 cm) wide
- Brown or tan chenille stems (pipe cleaners), or floral wire
- Scissors
- A small bunch of faux or felt fall leaves and a length of plaid ribbon for a bow
- Tacky craft glue for sealing cut ends
Burlap is a coarse woven cloth usually made from jute, also known as hessian. Ribbon sold for wreaths has stitched or bound edges, which makes it far tidier to work with than strips cut from yardage.
How much burlap ribbon to buy
For a 14 inch frame, plan on about 30 feet (9 m) of ribbon for a nicely full wreath. That is an estimate: taller loops, narrower ribbon or a very dense look can push it toward 40 feet (12 m). Rolls are commonly sold in 15 foot (4.6 m) or 30 foot lengths, so buy one more roll than you think you need. A wreath that runs out of ribbon partway around is hard to rescue.
If you need to join a new roll partway, finish the old one behind the frame, fasten both ends to the same crossbar and carry on. The join disappears under the loops.
Understanding the frame
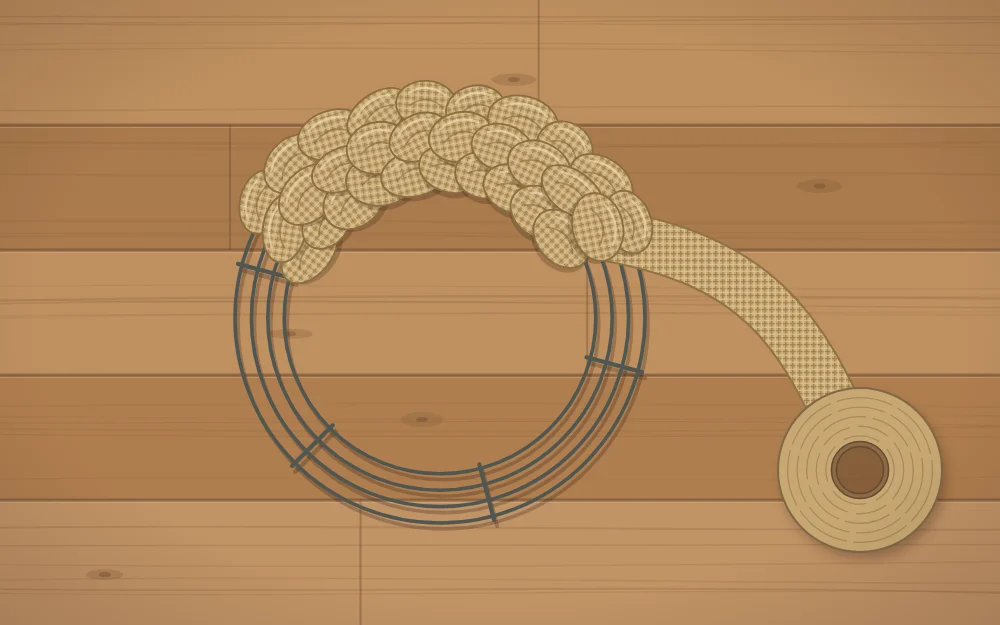
Lay the frame on the table with the curved side up, so the wires arch toward you. The four rings create three channels: inner, middle and outer. The crossbars divide the ring into sections, and each section gets the same number of loop rows. Counting rows per section is what keeps the wreath even.
The loop method, step by step
- Anchor the end. Gather the end of the ribbon and fasten it to the back of the frame beside a crossbar with a chenille stem, twisting the stem tight. Leave the roll attached; do not cut the ribbon.
- Make the first loop. From behind, push a fold of ribbon up through the inner channel until the loop stands about 3 inches (7.5 cm) tall.
- Make two more. Push a second loop up through the middle channel and a third through the outer channel, keeping all three about the same height. That is one row.
- Lock the row. Behind the frame, give the ribbon one full twist, or wrap a short piece of chenille stem around the ribbon and the nearest wire. This stops the loops from pulling back out.
- Slide and repeat. Push the finished row along the wires, snug against the crossbar or the row before, then start the next row from the inner channel again.
- Fill each section. Aim for about three to five rows per section, and use the same number in every section.
- Finish. When you arrive back at the start, cut the ribbon leaving a few inches, gather the end and fasten it behind the frame with a chenille stem.
Twist or chenille stem?
A single twist behind each row is fastest and holds well when the rows are packed tightly. Chenille stems take a little longer but lock each row to the frame, which helps on a door that gets slammed. A sensible middle path is to twist every row and add a stem at each crossbar.
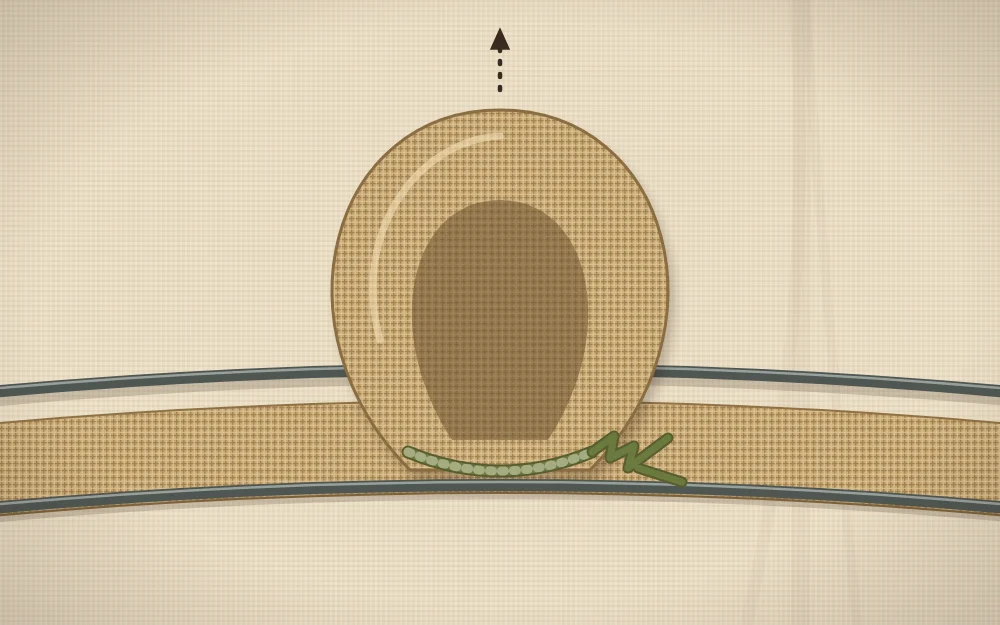
Tip
If the wreath looks thin, do not add taller loops. Slide the rows closer together and add another row to each section. Tight spacing is what makes the bubbles stand up.
Fluffing and shaping
The wreath will look squashed when you finish the last row. Hold it upright and work around the ring, opening each loop with two fingers and turning neighboring loops in slightly different directions: one toward the center, one straight out, one toward the outer edge. Tug any short loops up to match the rest. Check the back too, and push in any stem ends that stick out so they cannot scratch the door.
Managing fraying
Burlap sheds. A little preparation keeps it under control:
- Work over an old sheet or on a surface that is easy to sweep, and wear something you do not mind covered in fibers.
- Choose ribbon with finished edges. If you cut your own strips, run a thin line of tacky craft glue along each long edge and let it dry before you start.
- Seal the two cut ends with a dab of glue, or fold them under before fastening.
- Snip stray threads with scissors instead of pulling them, which unravels the weave further.
Adding a simple leaf cluster and bow
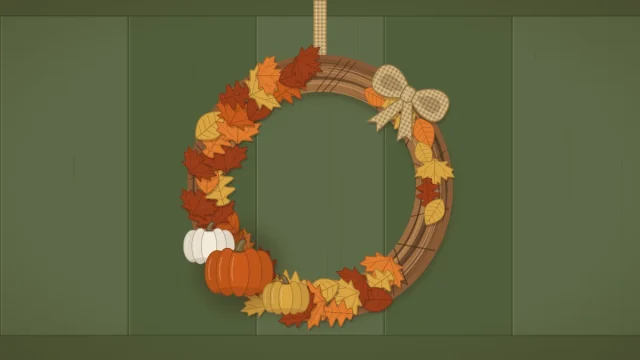
Burlap is a neutral background, so one accent is enough. Choose a spot low on one side, around 4 or 5 o’clock, part the loops and fasten three to five leaves to the frame with a chenille stem so they fan outward. Tie a simple plaid bow, thread a stem through the back of its knot and fasten it just above the leaves, letting the tails hang down.
Because the accent is tied on, not glued, you can swap it for another season and reuse the burlap base. For more on placing clusters and keeping a wreath balanced, see the beginner’s guide on how to make a fall wreath.
Hanging, care and storage
To hang the wreath, loop a chenille stem or a length of twine around the outer ring at the top. Burlap holds up reasonably well on a covered porch, but it sags and can mildew if it gets soaked, so keep it out of direct rain. Like any dried or fabric decor, keep it away from heaters and open flames. For ideas on what to put around the door, the guide to fall entryway decorations builds a whole entry around a wreath like this one.
When the season ends, shake the wreath outdoors to remove dust, reshape the loops and store it where nothing will press on it. A wreath box or a hanging bag both work; the options are compared in how to store fall decorations.
Frequently asked questions
How much burlap do I need for a 14 inch wreath frame?
Plan on roughly 30 feet of ribbon 5 to 6 inches wide for a full look, and buy an extra roll in case your loops run tall or tight. The amount varies with loop height and how many rows you pack into each section, so treat any figure as an estimate.
Why do my burlap loops keep falling out?
Loops slip when the rows are spaced too far apart or nothing locks them behind the frame. Twist the ribbon once after every row of three loops, slide each row firmly against the last, and add a chenille stem at each crossbar for extra hold.
Can I use burlap fabric instead of burlap ribbon?
Yes, but cut strips fray heavily along both edges. Cut along a pulled thread to keep the strips straight, seal the edges with a thin line of tacky craft glue and let them dry before looping. Ribbon with finished edges is tidier and quicker for a first wreath.