How to Make a Fall Wreath: A Beginner’s Step-by-Step Guide
The general method behind any fall wreath: choosing a base, planning with a clock-face layout, building in three layers, wiring versus gluing, and hanging it straight.
Project at a glance
What you need
- 14 to 18 in (36 to 46 cm) wreath base
- Faux or felt leaves and greenery
- 3 to 5 focal pieces such as craft pumpkins
- Small fillers such as acorns or berries
- Floral wire and wire cutters
- Low-temperature glue gun
Once you know how to make a fall wreath from the base up, you can build almost any style you see: leafy, rustic, minimal or packed with pumpkins. The materials change from wreath to wreath, but the method underneath stays the same.
This guide walks through that method in order: picking a base, planning the layout, building in layers, attaching each piece so it stays put, and hanging the wreath so it sits straight. It assumes no experience at all.
Choose a wreath base
The base decides how you attach things and how much of it needs covering. For a standard front door, a base 14 to 18 inches (36 to 46 cm) across is the common choice; decorations usually add a few inches all around, so a 14 inch base often finishes near 18 inches (46 cm).
| Base | Best for | How pieces attach | Keep in mind |
|---|---|---|---|
| Grapevine | Beginners; partly covered designs | Stems tuck between twigs; wire or glue | Looks good bare, so gaps do not matter |
| Wire frame | Burlap, ribbon and fabric loops | Tied or twisted onto the wires | Must be fully covered |
| Straw-style | Full, dense wreaths | Floral pins and wire | Bulky and can shed |
| Foam | Felt, fabric and lightweight pieces | Pins and low-temperature glue | Wrap it in ribbon or fabric first |
If you are unsure, start with grapevine. The twisted twigs already look like fall, and you only need to decorate part of the ring. Wreaths have been made on rings like these for a very long time; the history of the wreath is worth a read if you are curious.
Gather three kinds of material
Nearly every wreath that looks finished uses three groups of material, whatever the style:
- A background layer: faux or felt leaves, greenery stems, wheat or burlap. This gives the wreath its shape and color.
- Focal pieces: the three to five largest items, such as small craft pumpkins, large pinecones, big blooms or a bow.
- Fillers: small things that close gaps, such as berries, acorns, mini pinecones and short sprigs.
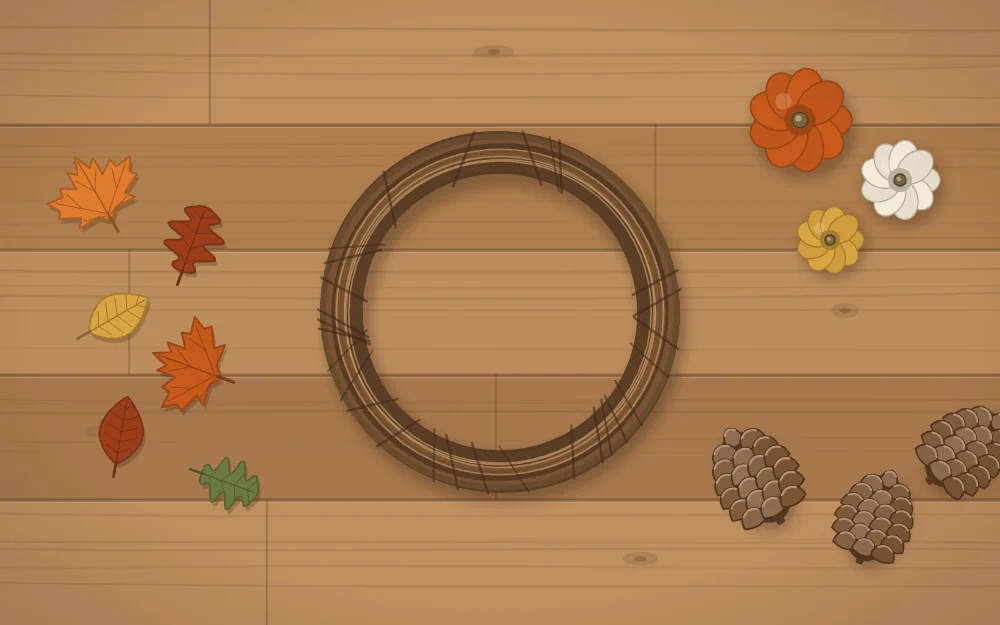
You will also need floral wire, wire cutters or old scissors, and a low-temperature glue gun. Lay everything out around the bare base before you attach anything, grouped by type, so you can see what you have.
Plan the layout with a clock face
Picture the wreath as a clock. Instead of spreading decorations evenly all the way around, which often looks flat, place them by the hour. The easiest layout for a beginner is the off-center cluster:
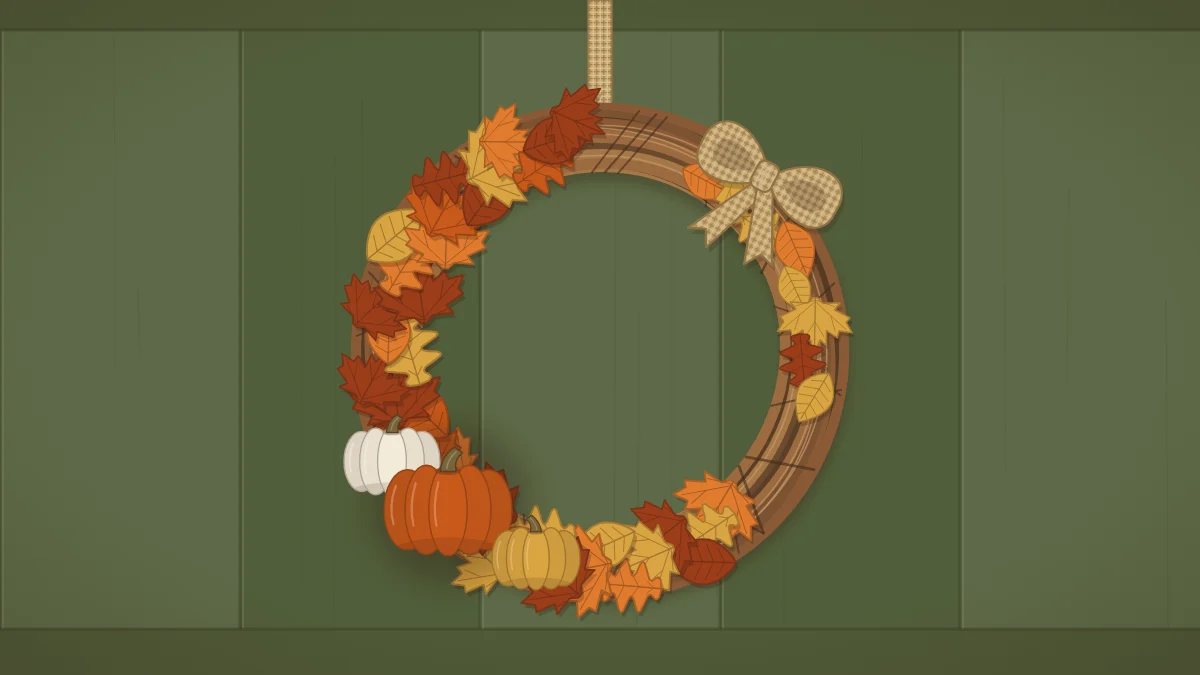
- The main cluster of focal pieces sits low on one side, around 7 or 8 o’clock.
- A smaller, lighter cluster echoes it on the opposite side, around 1 or 2 o’clock.
- Background material sweeps away from each cluster and thins out, leaving some of the base showing.
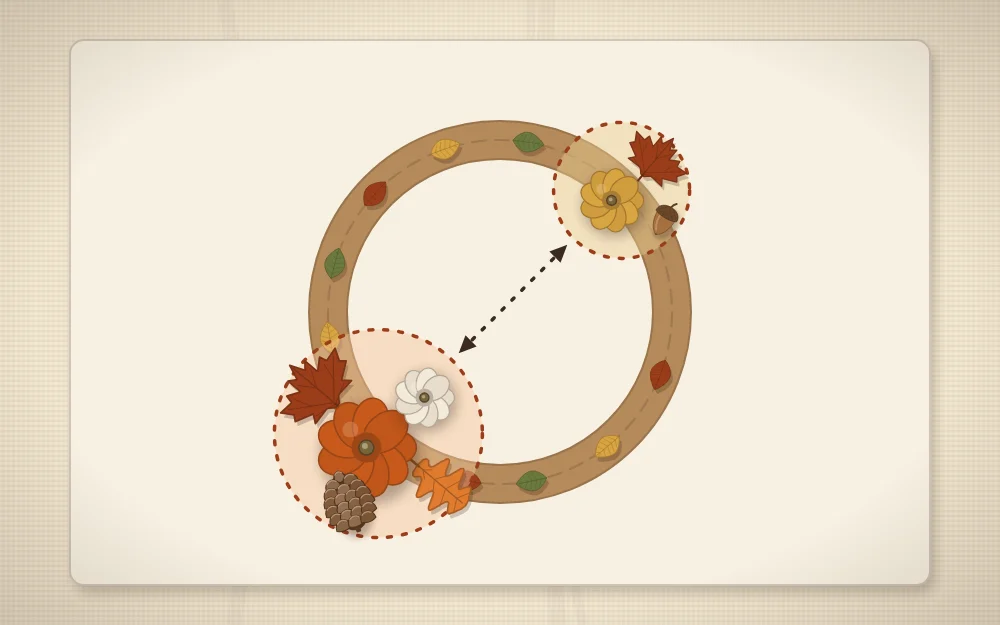
Two other layouts use the same idea. A crescent covers roughly half the ring, thickest in the middle and tapering at both ends. A full wreath covers the whole ring, and still benefits from one clear focal point at about 5 or 7 o’clock. Set the pieces loosely on the base and step back before you commit.
Build in layers
- Background first. Attach leaves or greenery so every stem points the same way around the ring. Each new piece should overlap and hide the stem of the one before it.
- Focal pieces second. Add the largest items in an odd-numbered group, with the biggest slightly off the center of the cluster and the others close beside it at different angles.
- Fillers last. Tuck small items into gaps and along the edges of the clusters. Repeat each filler at least three times around the wreath so it looks intentional.
- Bow or ribbon, if using. Wire it in at the edge of the main cluster rather than dead center on top of it.
Work with the wreath flat on a table, then prop it upright against a wall every few minutes. Things look different when they hang, and gaps show up fast.
Wire or glue: how to attach each piece
Floral wire and glue do different jobs, and most wreaths use both.
- Use floral wire for anything heavy, anything you may want to reuse, and anything going outdoors. Wrap the wire around the stem or the base of the piece, pass both ends through the base and twist them together at the back. Tuck the cut ends in so they cannot scratch the door.
- Use a low-temperature glue gun for light, flat items such as single leaves, acorns and felt shapes. Glue is quick but permanent, and it can loosen in strong sun or cold.
- Use both for focal pieces: wire to carry the weight, a dab of glue to stop the piece from turning.
Safety note
A low-temperature glue gun still burns skin. Rest it on its stand, keep fingers off fresh glue, and press small pieces down with a craft stick instead of a fingertip.
Add a hanging loop and check the balance
Decide where the top is before you make the loop: hold the finished wreath up and turn it until the clusters sit where you planned them. Then wrap a doubled length of floral wire around the base at the 12 o’clock position, twist it into a small loop at the back, and tuck in the ends. For a softer look, tie a ribbon loop around the base instead.
Hang the wreath and look at it from a few steps away. If it tilts, the heavy side is pulling it down. You can shift the loop a little toward that side, or wire a small flat weight, such as a metal washer, to the back of the lighter side. Give the wreath a gentle shake; anything that wobbles needs more wire. A removable adhesive hook or an over-the-door hanger avoids putting nails in the door.
Where to go next
With the general method in hand, pick the wreath that suits your materials:
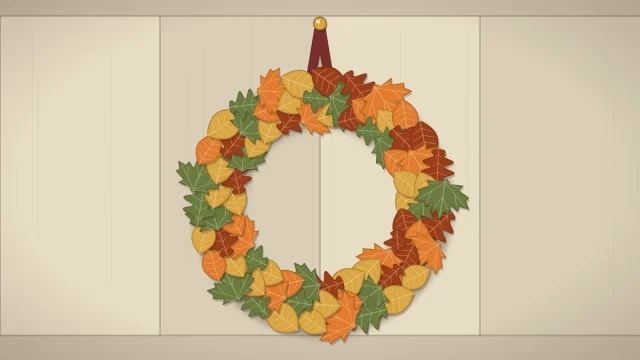
- For a soft, colorful ring that can be reused for years, make the felt leaf wreath.
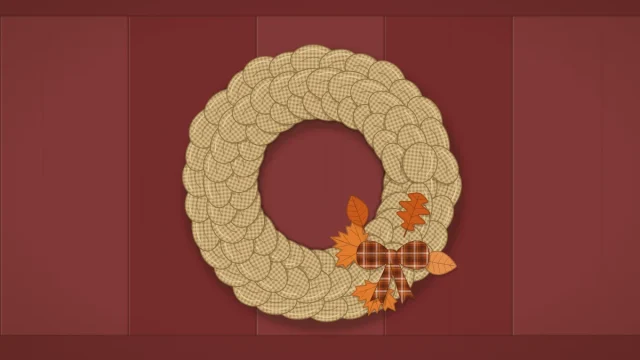
- For a full, ruffled look with almost no gluing, try the burlap fall wreath built on a wire frame.
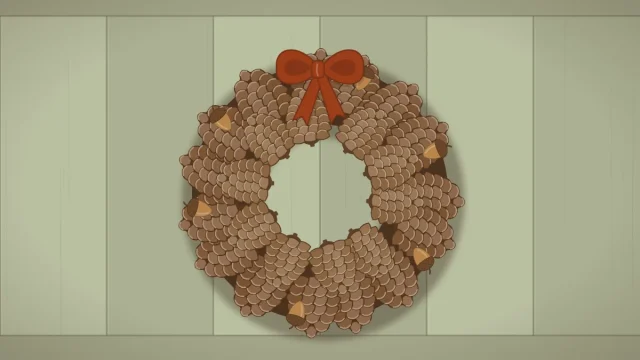
- For a natural wreath from gathered materials, follow the pinecone wreath guide.
Whichever you choose, hang dried and fabric wreaths under cover where rain cannot reach them, and keep them away from heaters and any open flame.
Frequently asked questions
What size wreath should I make for a front door?
A base of 14 to 18 inches suits most standard front doors, and the decorations typically add a few inches to the finished width. For a narrow apartment door or an interior door, a 10 to 12 inch base usually looks better. Leave a clear margin of door showing on both sides.
Which wreath base is easiest for a beginner?
Grapevine is the most forgiving. Stems wedge between the twigs, wire passes through easily, and the base looks attractive uncovered, so you only need to decorate a section. Wire frames and foam rings need to be covered completely, which takes more material and more patience on a first project.
Why does my wreath hang crooked?
One side is heavier than the other, usually the side with the main cluster. Move the hanging loop slightly toward the heavy side, or wire a small flat weight such as a metal washer to the back of the lighter side. Checking the balance before adding fillers saves rework.