How to Make Felt Leaves: Templates, Cutting and Veins
Draw simple maple, oak and oval templates, cut felt cleanly and add veins three ways. A core technique you can reuse for wreaths, garlands and table decor.
Project at a glance
What you need
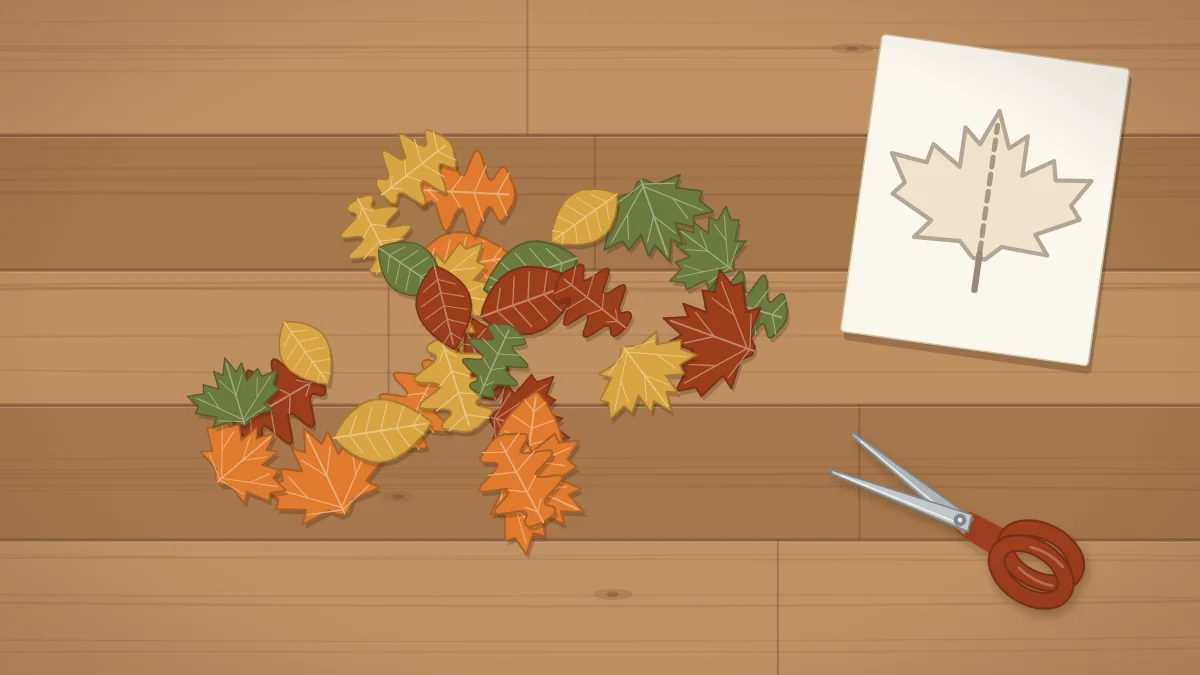
- Craft felt sheets, about 9 x 12 in (23 x 30 cm), in 4 or 5 fall colors
- Paper or thin cardstock for templates
- Sharp fabric scissors
- Tacky craft glue or low-temperature glue gun
- Embroidery floss and needle, or a fabric marker
- Pins or small clips
Once you know how to make felt leaves, a whole shelf of fall projects opens up. The same small shapes cover a wreath, hang along a garland, tie around a napkin or sit scattered down the middle of a table, and they come back out every year looking the same.
The technique has three parts: a paper template, a clean cut and a vein that gives the flat shape some life. None of them needs sewing skills, and a batch of twenty leaves is a comfortable evening’s work.
Choosing felt: wool-blend or acrylic
Felt is made of matted fibers rather than woven threads, which is why a cut edge does not fray. Craft shops usually carry two kinds.
- Acrylic craft felt: inexpensive, sold in single sheets and in every color. It is thinner and slightly fuzzy, so points can look soft. A good choice for garlands and for practice.
- Wool-blend felt: denser and smoother. It cuts with a crisp edge, holds a pinched fold well and resists pilling. Worth it for a wreath you plan to keep for years.
Either way, choose four or five colors that sit well together, such as orange, mustard, rust, olive and a deep red. Sheets about 9 by 12 inches (23 by 30 cm) are the common size, and one sheet yields roughly eight to twelve medium leaves depending on the shape.
What you need
- Felt sheets in fall colors
- Plain paper or thin cardstock and a pencil
- Sharp fabric scissors, plus small pointed scissors for curves
- Pins or small clips
- Tacky craft glue or a low-temperature glue gun
- Embroidery floss and a needle, or a fabric marker, for veins
If you are building a kit from nothing, the fall craft supplies starter list covers scissors and adhesives in more detail.
Drawing three simple templates
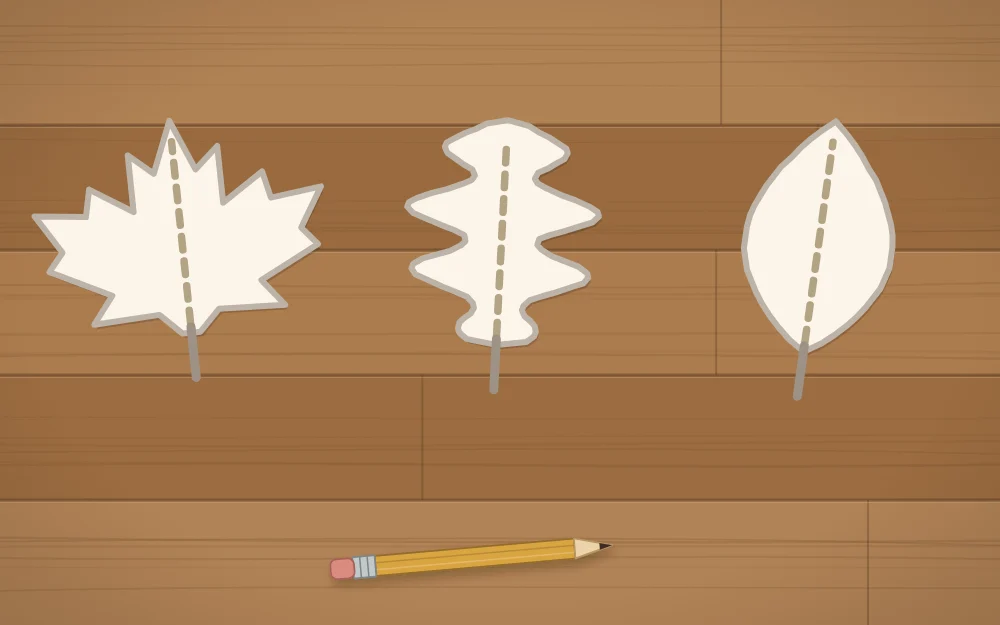
Fold a piece of paper in half and draw half of the leaf against the fold. When you cut it out and open it, both sides match. Draw each shape larger and simpler than a real leaf, because tiny notches are hard to cut in felt.
- Pointed oval: draw a long curve from the top of the fold to the bottom, widest about a third of the way up. Add a short stem. This is the fastest leaf to cut and the best one to make in bulk.
- Oak: start with the same long oval, then scoop three or four rounded bays into the edge so that rounded lobes remain between them.
- Maple: draw one tall central point, a shorter point angled out to the side and a small point near the base, with shallow V-shaped notches between them.
| Size | Leaf length | Good for |
|---|---|---|
| Small | About 2 in (5 cm) | Napkin ties, filler, mini garlands |
| Medium | About 3 in (8 cm) | Garlands, wreaths on a 12 in (30 cm) ring |
| Large | About 4 in (10 cm) | Larger wreaths, table scatter |
Trace your favorite paper version onto cardstock. A stiffer template survives being traced dozens of times.
Tracing and cutting cleanly
- Pin or clip the template to the felt, close to an edge so you waste as little as possible.
- Cut around the template directly instead of drawing a line. This keeps pen marks off the finished leaf. If you prefer to trace, use a disappearing fabric marker or chalk and cut just inside the line.
- Use long, smooth strokes with the back of the blades, and turn the felt rather than the scissors as you go around curves.
- For inside corners on oak and maple leaves, cut into the corner from each side so the two cuts meet. Do not try to pivot the scissors in the notch.
- Trim any fuzzy edges with the small scissors.
Tip
Keep one pair of scissors for felt and fabric only. Blades that have been cutting paper leave a ragged, chewed edge on felt.
Three ways to add veins
A flat felt shape reads as a leaf once it has a center line. Pick the method that suits the project and your patience.
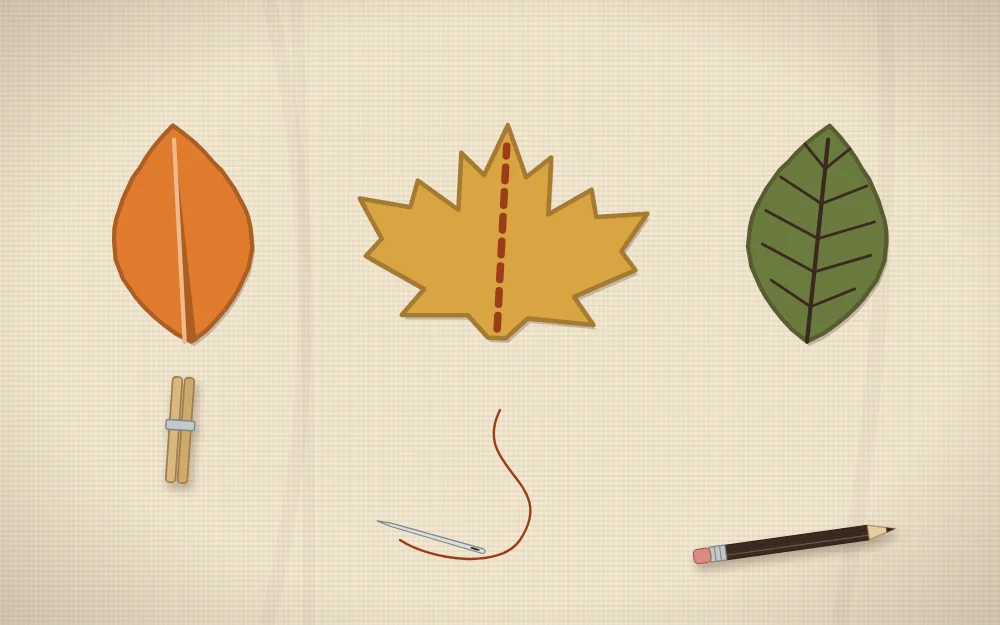
Pinched center fold
Run a thin line of tacky glue down the lower half of the leaf, along the center. Fold the leaf in half lengthwise and pinch the bottom third together for about thirty seconds, or hold it with a clip until set. The base stays creased and the tip opens out, giving a curved, three-dimensional leaf. This is the quickest method and the best for wreaths.
Stitched line
Thread a needle with two or three strands of embroidery floss in a slightly darker shade. Sew a simple running stitch or backstitch from stem to tip, then add two or three short angled stitches on each side if you like. Stitched veins lie flat, which suits garlands.
Drawn line
Draw the center vein and side veins with a fine fabric marker one or two shades darker than the felt. Test on a scrap first, since some markers bleed into acrylic felt. It takes seconds per leaf and suits a crafting session with children.
Batching for bigger projects
Wreaths and garlands need leaves by the dozen, so work in stages rather than finishing one leaf at a time.
- Stack two layers of felt and cut both at once. More than two layers tends to shift and distort the shape.
- Cut every leaf first, then add all the veins in one sitting.
- Sort finished leaves by color into small piles so you can see what you have.
- Always make a few extra. Plan on roughly ten percent more than your count for gaps and mistakes.
A low-temperature glue gun speeds up pinched veins, but it still burns skin, so press the fold closed with a clip instead of your fingertips.
Where to use your leaves
A full ring is the classic use: the DIY fall leaf wreath gives approximate leaf counts by ring size and shows how to overlap them. For something softer, thread flat stitched leaves between felt balls in a fall felt garland.
Leftover leaves are never wasted. Tie one to a napkin with twine, glue a pair to a jar, or keep a small bag of spares in your craft box for next year. Store them flat and dry so the pinched ones hold their shape.
Frequently asked questions
What kind of felt is best for leaves?
Wool-blend felt gives the cleanest edges and holds a pinched fold well, so it suits wreaths and pieces you want to keep for years. Acrylic craft felt costs less and comes in more colors, making it a sensible pick for practice batches, garlands and projects with children.
How many felt leaves can I cut from one sheet?
It depends on the leaf size and shape, but a standard craft sheet usually gives roughly eight to twelve medium leaves about three inches long. Simple ovals nest closely and waste less felt than maple shapes. Treat any count as an estimate and buy an extra sheet of each color.
Do felt leaves need to be sealed or stiffened?
Usually they do not. Felt edges will not fray, and a pinched or stitched vein adds enough body for wreaths and garlands. If thin acrylic felt feels floppy, glue two layers together before cutting to make a sturdier leaf rather than adding a coating.