Fall Place Setting Ideas: Napkin Rings, Name Cards and Layers
Build one fall place setting in four layers, then add handmade napkin ties, paper-leaf name cards and simple pinecone or mini pumpkin card holders.
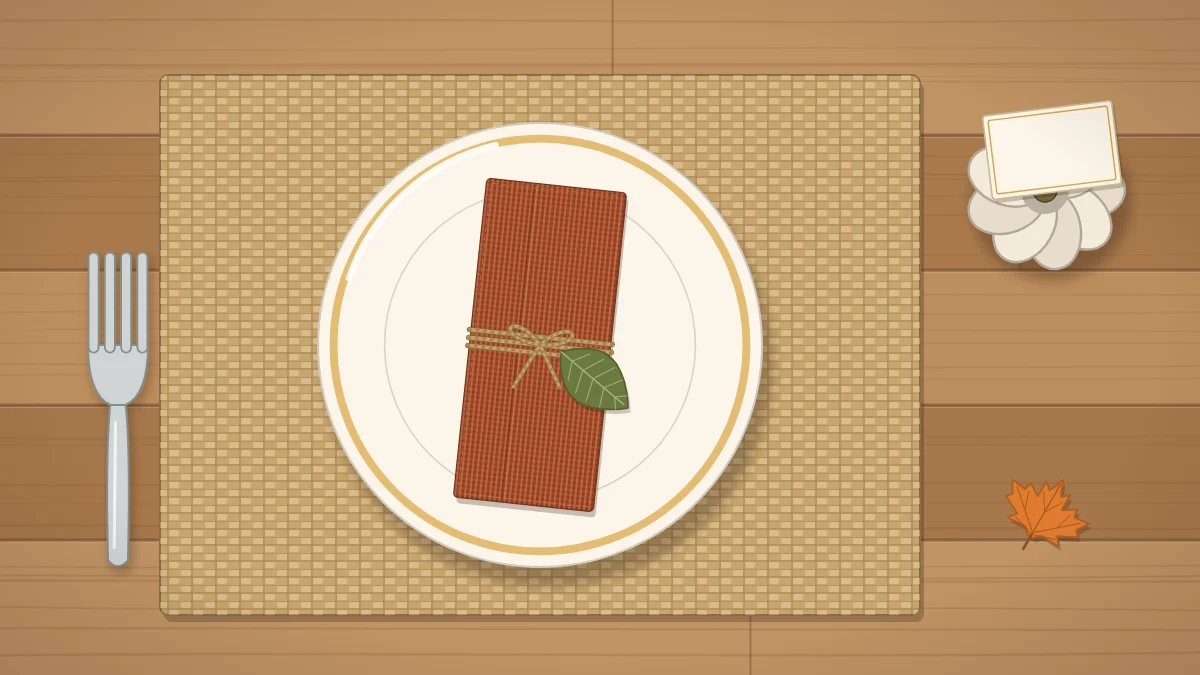
The best fall place setting ideas start small: one plate, one napkin and a single handmade detail that tells each guest the spot was made for them. You do not need matching china or a stack of chargers. A few layers in warm colors and one natural accent do most of the work.
Below, one setting is built from the bottom up, followed by the handmade parts: napkin ties, paper-leaf name cards and little card holders made from mini pumpkins and pinecones. Make one complete setting first, look at it from a chair, and then repeat it around the table.
Build One Setting in Four Layers
Think of a place setting as a short stack. Each layer has one job, and stopping at four keeps the table from feeling crowded.
- Base. A placemat, a charger or the bare table. This frames the plate.
- Plate. Plain cream or white plates show off fall colors better than patterned ones.
- Napkin. This is where the color goes: rust, mustard, olive or deep burgundy.
- One small accent. A name card, a mini pumpkin or a sprig. Pick one, not all three.
Choose the Base: Placemat, Charger or Bare Wood
A woven placemat in jute, seagrass or cotton adds texture and suits a rustic table. A round placemat about 15 inches (38 cm) across leaves a visible border around a standard dinner plate.
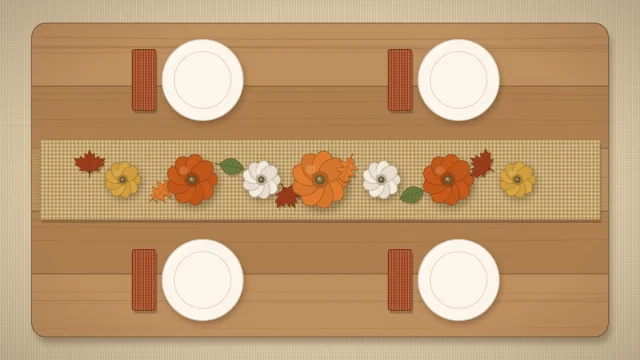
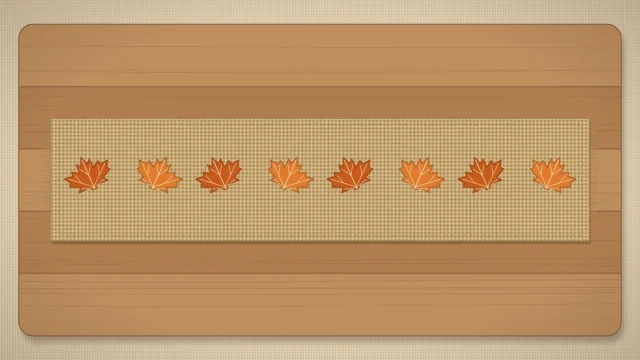
A charger gives a more formal look. On a small table, skip both and let the wood show, especially if a runner already covers the middle. A simple no-sew fall table runner gives the center of the table its color, so the settings themselves can stay quiet.
Three Napkin Ties You Can Make in Minutes
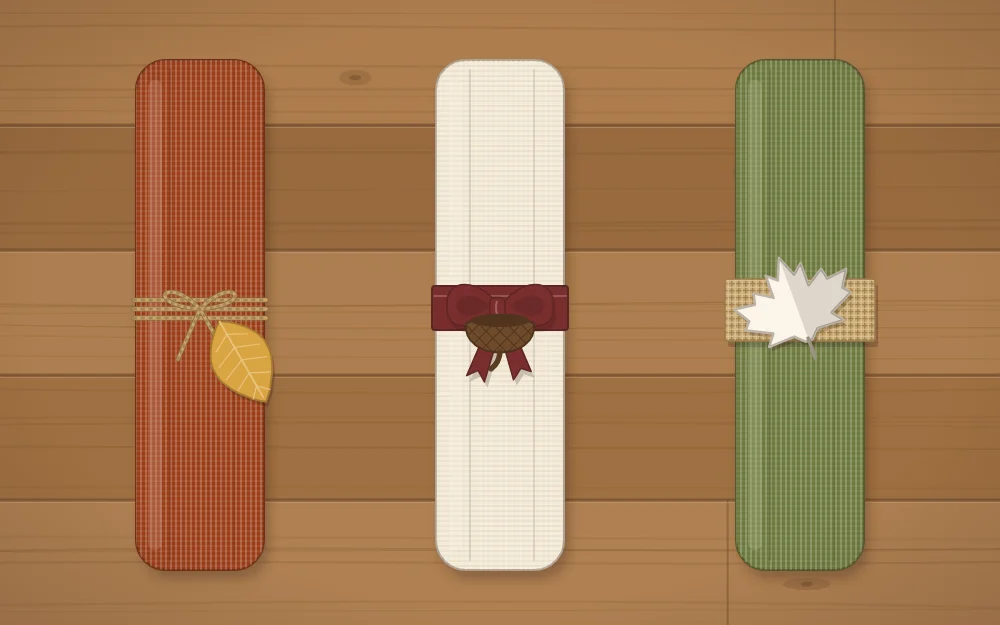
A tied napkin looks finished without any folding skill. Fold the napkin in thirds lengthwise, fold it in half, and tie it around the middle. Each tie below uses roughly 14 inches (36 cm) of cord or ribbon, so plan on a little over a foot per guest plus some extra for trimming.
- Twine and a felt leaf. Cut a leaf about 2 inches (5 cm) long from felt, snip a small slit near the stem end and thread the twine through before knotting.
- Ribbon and an acorn cap. Glue a clean, dry acorn cap to the center of a narrow ribbon with tacky craft glue and let it set before tying. There are more uses for caps in these acorn craft ideas.
- Burlap strip and a paper leaf. Cut a strip about 1 inch (2.5 cm) wide, wrap it once, and tuck a paper leaf under the knot.
Tie everything loosely so guests can slide the tie off with one hand.
Paper-Leaf Name Cards
Paper leaves are the simplest name cards to make in a batch. Use cardstock rather than printer paper so the leaves stay flat on the plate.
- Draw a simple leaf, about 3 inches (7.5 cm) long, on scrap cardboard and cut it out as a template. An oval with a pointed tip is enough.
- Trace it onto cardstock in two or three fall colors and cut out one leaf per guest, plus a few spares.
- Fold each leaf lightly down the middle and open it again to make a center vein.
- Write each name along the vein with a pen that will not smear, and let the ink dry before stacking.
Lay the leaf on the napkin, slip it under the twine, or stand it in one of the holders below.
Card Holders From Mini Pumpkins and Pinecones
A holder lifts the card off the plate so it can be read from across the table. Both versions below sit to the top left of the plate or directly above it, not on it.
Pinecone holder
Choose a pinecone that stands upright on its flat base and has open scales. Brush off loose dirt, let it air-dry indoors for several days and check it for insects before it comes anywhere near the table. Then slide the card between two scales near the top. If the cone wobbles, glue a small circle of felt to the base.
Mini pumpkin holder
For a real or craft mini pumpkin, a wire coil is tidier than a cut. Wrap about 8 inches (20 cm) of craft wire three times around a marker to form a flat spiral, leave a straight tail, and push the tail into the pumpkin beside the stem. The card slips between the loops. On a foam or craft pumpkin, an adult can instead cut a shallow slit across the top with a craft knife.
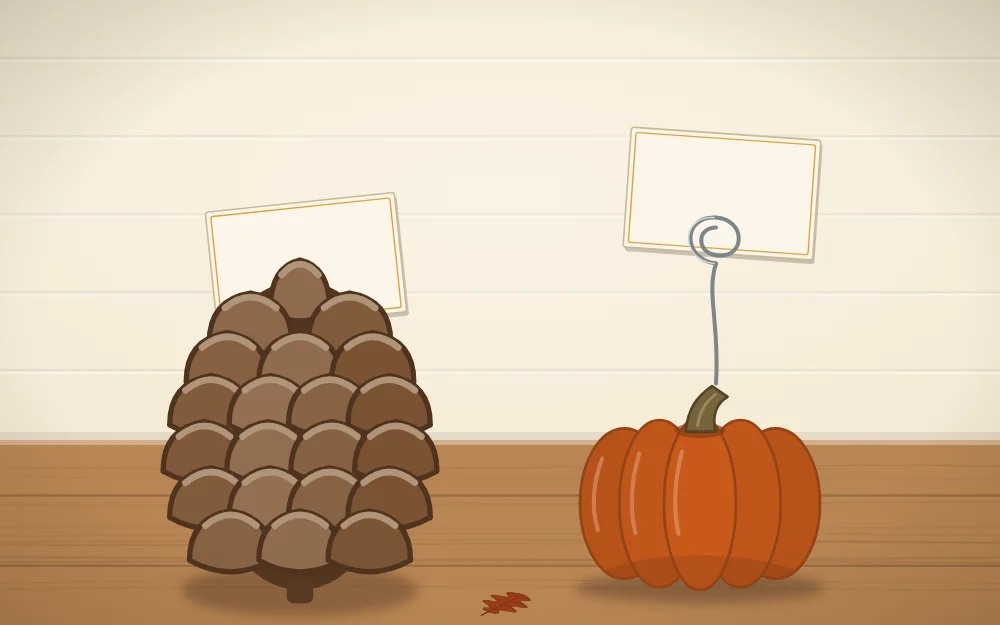
Real mini pumpkins are perishable. Uncut ones often last a few weeks in cool, dry conditions, but a pumpkin pierced by wire will soften sooner, so add the coils close to the day you need them.
A Sprig in the Napkin
If name cards feel too formal, tuck one sprig under the napkin tie instead. A short stem of dried wheat, a small eucalyptus tip, a rosemary cutting or a single preserved leaf is plenty. Keep it under 5 inches (13 cm) long so it does not hang over the plate rim.
Match the sprig to something in the centerpiece and the whole table reads as one plan. For a full holiday layout, these settings slot straight into a handmade Thanksgiving table.
Keep Natural Bits Off the Food
Foraged materials are charming and a little messy. A few habits keep them where they belong.
- Place accents beside or above the plate, never on the eating surface.
- Shake pinecones, wheat and burlap outdoors first so loose scales, seeds and fibers fall away there.
- Wash your hands after handling foraged materials and before you touch plates, glasses or food.
- Collect only where gathering is allowed, and leave anything damp or moldy behind.
- Treat decorated pumpkins as decoration only, not something to cook afterward.
Safety note
Acorn caps, wire coils and felt leaves are small. At a table with young children or curious pets, use larger accents such as a whole mini pumpkin, and clear the small pieces away when the meal ends.
Set One, Then Repeat
Finish a single setting and sit down in front of it. Check that the glass has room, the napkin tie slides off easily and the name card can be read from the next seat. Adjust once, then copy the result around the table.
Frequently asked questions
What goes in a simple fall place setting?
Four layers are enough: a base such as a placemat or charger, a plain plate, a napkin in a warm fall color and one small accent like a name card, a mini pumpkin or a sprig. Adding more than one accent per seat usually makes the table feel crowded once glasses and serving dishes arrive.
How do you make a pinecone place card holder?
Pick a pinecone with open scales that stands on its base. Brush off dirt, air-dry it indoors for several days and check for insects. Then slide a cardstock name card between two scales near the top. A small felt circle glued underneath steadies a cone that wobbles.
Can I make fall napkin ties without sewing?
Yes. Cut roughly 14 inches of twine, narrow ribbon or a burlap strip per napkin and knot it loosely around the folded napkin. Thread on a felt leaf through a small slit, glue an acorn cap to the ribbon, or tuck a paper leaf under the knot. No stitching is needed.