Fall Table Runner DIY: A No-Sew Burlap and Fabric Runner
Make a no-sew fall runner from burlap or cotton: how to measure for your table, cut burlap straight, fringe or hem the edges and stamp a row of leaves, with a size table.
Project at a glance
What you need
- Burlap or medium-weight cotton fabric
- Fabric scissors and a tape measure
- Fusible hem tape and an iron (cotton only)
- Tacky craft glue or liquid seam sealant
- Fabric paint in fall colors
- Leaf stamp or stencil and a sponge dauber
A runner is the quickest way to make a table look dressed for the season, and you do not need a sewing machine to make one. This fall table runner DIY uses a strip of burlap with fringed ends, or plain cotton finished with fusible hem tape, and a row of stamped leaves for color.
Most of the work is measuring and cutting straight. Once you have done that, the decorating takes less than an hour, plus drying time, and the finished runner rolls up small enough to keep for next year.
What you need
- Burlap or medium-weight cotton fabric (see the size table below)
- Tape measure, pins or clips, and sharp fabric scissors
- Fusible hem tape and an iron, for cotton only
- Fabric paint in one to three fall colors
- A leaf stamp, stencil or a firm real leaf, plus a sponge dauber
- Scrap cardboard or kraft paper to protect the table
If you are building a kit from scratch, the fall craft supplies guide explains which scissors and adhesives are worth owning.
Measure the table first
Two numbers decide the size. For length, measure the tabletop and add an overhang of about 6 to 10 inches (15 to 25 cm) at each end. A shorter drop looks neat and casual; a longer one feels more formal. For width, aim for about one third of the table’s width, which on most dining tables works out to 12 to 14 inches (30 to 36 cm). That leaves room for a place setting on each side.
| Table length | Runner with 6 in overhang per end | Runner with 10 in overhang per end |
|---|---|---|
| 48 in (122 cm) | 60 in (152 cm) | 68 in (173 cm) |
| 60 in (152 cm) | 72 in (183 cm) | 80 in (203 cm) |
| 72 in (183 cm) | 84 in (213 cm) | 92 in (234 cm) |
| 84 in (213 cm) | 96 in (244 cm) | 104 in (264 cm) |
| 96 in (244 cm) | 108 in (274 cm) | 116 in (295 cm) |
These are finished lengths. For hemmed cotton, add about 2 inches (5 cm) to both the length and the width for turning under. Burlap needs no extra, because the fringe is made from the runner itself. Buy a little more than the numbers suggest, since cut ends from the store are rarely square.
Cut burlap straight by pulling a thread
Burlap is a loose, open weave of jute, known in some countries as hessian, and it shifts when you try to cut along a drawn line. The reliable method is to let the fabric show you its own straight line.
- Measure in from one edge to the width you want and snip into the fabric about half an inch (1.3 cm).
- Find a single lengthwise thread at the snip and pull it gently. The fabric will gather along it.
- Ease the gathers along and keep pulling until the whole thread slides out, leaving a visible gap in the weave.
- Cut along that gap with long, steady strokes.
- Repeat across the width at each end to square them off.

Finish the ends and edges
Fringed burlap
At each short end, pull out the crosswise threads one at a time until you have a fringe of about 1 to 1.5 inches (2.5 to 4 cm). To stop the fringe from growing deeper with use, run a thin line of tacky craft glue or liquid seam sealant along the last crosswise thread on the underside and let it dry.
Hemmed cotton
Fold each edge under by half an inch, then half an inch again, and press the fold. Slip a strip of fusible hem tape inside the second fold and press again, following the tape instructions for iron temperature, time and whether to use steam or a pressing cloth. Do the long sides first, then the short ends, and let each section cool before moving the fabric.
An iron is hot enough to burn, so stand it on its heel between presses and unplug it when you finish.
Stamp or stencil the leaves
Lay the runner flat over cardboard or kraft paper, because paint goes straight through burlap. Mark the center line with a few pins so your row stays straight.
- Pour a little fabric paint onto a plate and tap the sponge dauber into it. Blot the dauber on scrap paper; too much paint blurs the print.
- Dab paint evenly onto the stamp, or onto the veined back of a firm real leaf.
- Press it straight down onto the fabric, hold for a few seconds without rocking, and lift straight up.
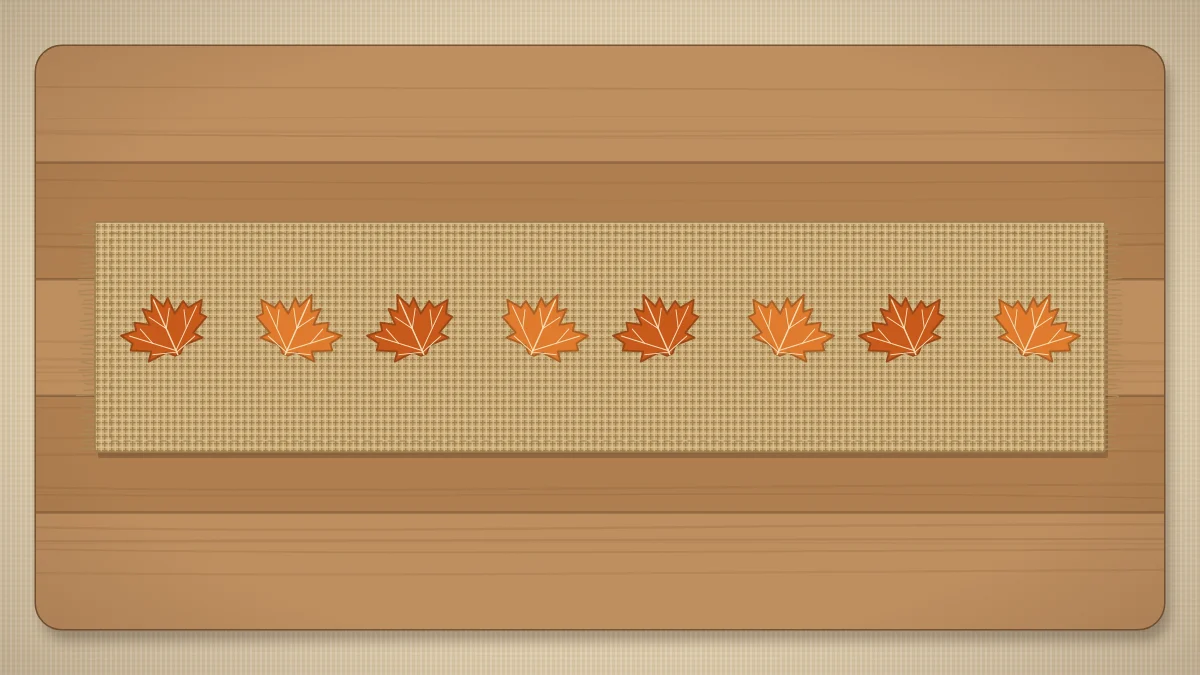
- Reload with paint for every print. Space the leaves about 4 to 6 inches (10 to 15 cm) apart, turning each one slightly so the row looks natural.
- For a stencil, hold it flat and pounce the dauber up and down from the edges inward.

Tip
Practice on an offcut of the same fabric first. Burlap gives a rustic, broken print, while cotton shows fine vein detail, so the same stamp looks quite different on each.
Two or three colors, such as rust, mustard and deep red, are plenty. Let the paint dry flat, often several hours, and check the label for the full curing time and any setting step it recommends.
Style the finished runner
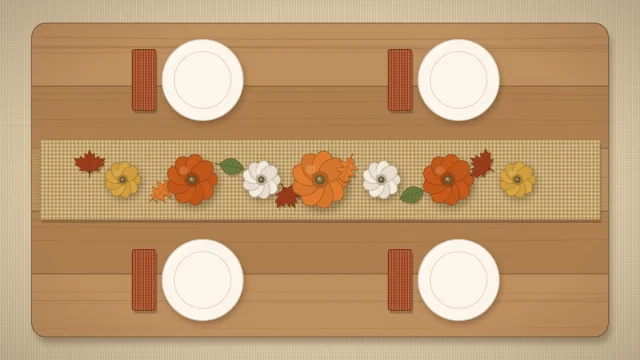
Smooth the runner down the middle of the table and check that both overhangs match. On a bare wood table it is the base layer; over a plain cloth it adds texture. From there, a low centerpiece and place settings finish the picture, and the guide to fall tablescape ideas shows the order to build them in.
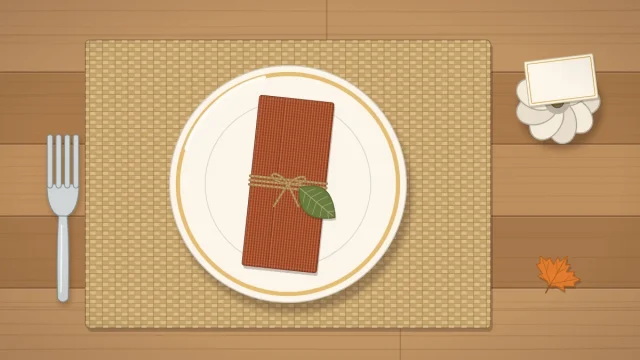
Leftover strips are useful too. A piece about 2 inches wide makes a napkin wrap that ties in with the runner; see these fall place setting ideas for ways to finish it.
Care: spot clean and store rolled
Burlap does not take well to machine washing. It frays, shrinks unevenly and can lose its shape, so treat this runner as spot-clean only. Blot spills right away with a clean cloth, then dab the mark with a cloth dampened with cool water and a drop of mild soap. Let it dry flat.
For storage, roll the runner around a cardboard tube instead of folding it, since hard creases in burlap are stubborn and folds can crack the paint over time. Keep it somewhere dry until next fall.
Frequently asked questions
How long should a table runner be?
Measure the tabletop and add about 6 to 10 inches of overhang at each end. For a 72 inch table that gives a runner of roughly 84 to 92 inches. A shorter drop looks casual and keeps the ends clear of laps, while a longer one feels more formal.
How do I keep burlap from fraying?
Cut along a pulled thread so the edge follows the weave, then decide how deep you want the fringe and seal the last thread on the underside with a thin line of tacky craft glue or liquid seam sealant. Handle the runner gently and shake it out instead of washing it.
Can I wash a painted burlap runner?
It is better to spot clean. Machine washing tends to fray burlap, shrink it unevenly and pull it out of shape, and it is hard on painted prints. Blot spills quickly, dab with cool water and a little mild soap, and let the runner dry flat before rolling it for storage.